Understanding Print File DPI Requirements
/Let me start with a couple of statements. First any photographer who makes prints either on their own or through a professional lab should understand DPI (dots per inch) and how to choose the right value for a print. Second, anyone who tells you that DPI and PPI are the same thing is either misled, or an idiot. PPI refers only to displays or other technology where the image is rendered by so-called pixels, which are not a thing, but a means of measurement that varies from device to device. That’s another story entirely and for another time. Here we are only discussing dots per inch as this pertains to photographic printing.
Concept Overview
When we build a print file, or ready an image to send to print, we specify a dpi rating typically based on what the printer maker recommends that the file is set to. In the absence of reading documentation, many folks just set the print file dots per inch to 300 dpi and move on. For small prints up to 8 x12 inches, this is actually okay, but depending on the print size, this can be massive overkill as the larger the physical print, the greater the standard viewing distance is and thus a lower dpi is acceptable and will reduce consumables use on a by square inch basis.
Viewing distance is the metric that actually defines the dot per inch value. There is a stunning amount of misinformation out there that proposes it is defined by the print size, the paper type and perhaps what your planetary alignments are. Or some other load of hokum.
A print is a tactile thing that exists to be displayed and to be viewed. The closer the viewer can get, the more detail is required. A common 4 x 6 print is commonly viewed from about a foot away. A poster is typically viewed from a much greater distance. Only photographers get way inside standard viewing distances or zoom in 300% on a display an then press their noses against the glass. Doing so is a clear example of needing assistance from a mental health professional because it is not only useless, it encourages all manner of brute stupidity and expenditure.
Avoiding Insanity
Once the file reaches the printer, the printer's own processor takes over. All photo type printers offer selections for what the actual dots per inch will be and you can usually see that in a print setup dialog. For example, I can send a 300 dpi prepared file to my Epson 4900 but tell the print driver to use the high quality 1440 dpi setting in the printer itself. Because the nozzles are very small on photo printer heads, different values can be made available. The higher the print driver dpi setting, the more ink you use and the longer the printing takes. This is a separate setting and consideration from when you are preparing a file for print, and it is user's choice.
For the moment though, let's work on the file size dpi.
A mathematical formula used by professional printers is file dpi = 1/((viewing distance in inches x 0.000291) / 2)
So for example, let's consider a print to hang on the wall that will be 11x17 inches in size. Standard viewing distance for this would be 40.5 inches, however, let's also assume that in reality, viewers will actually be about 24 inches away, well inside the standard viewing distance for a print that size. Thus the formula tells us that the file dpi to go to the printer will be
1 / ((24 *0.000291)/2)
which your calculator will tell you is 286.4 dpi, so if you prepare the print file at 300dpi, you are in great stead.
Standard Viewing Distance
When museum and exhibit professionals consider print sizes, they think about the standard view distance. To calculate this, we take the diagonal measurement of the print and square it (multiply it by itself) then divide by two. So an 8x12 print has a diagonal measurement of about 14.5 inches. You can figure out the diagonal measurement for any print by using the Pythagorean Theorem, which is to take the square root of the sum of the squares of the sides.
Then don’t forget that to get the standard viewing distance you multiply the diagonal measurement by two. In our 8 x 12 print example, the standard viewing distance is about 29 inches. This would necessitate a print dpi of 237 dots per inch.
However, as we saw in the first example of the 11 x 17 inch print, our expectation is that the viewers will be inside the standard viewing distance so that necessitates a change in the dpi setting for the print file.
Viewing Distance Defines DPI
Now let's consider a panorama that will go over a couch with a common (not standard) viewing distance of 40" The print size based on your output desire for this example is 17" tall by 72" long. You will note that in this instance, the standard viewing distance should be the square root of the sum of 17 squared and 72 squared multiplied by two or 148 inches. Since the typical viewer will be inside that distance, we need to compute the proper file dpi for this distance. Using the same formula as above, we should make the print file dpi at minimum 172dpi. At this point you will note that as we are not using the standard viewing distance, we need to use a higher print file dpi since the viewer will be closer. You will also note that the print size does not enter into the equation shown above at all. Just for fun, at the standard viewing distance the print file dpi would be 47 dpi.
This is why billboards are often printed at less than 10 dpi. The viewing distance is very large, so the print file dpi can be very low.
What we learn from the 11 x 17 inch and the Panorama examples, is that the physical print size works to determine the standard viewing distance, which we can then use to set the dpi for the print file. However, we also learned that standard viewing distance is not always used or enforced, so we have to take into consideration the actual viewing distance in order to determine the proper dpi setting for the print file
A Dumb Photographer Example
You are not a dumb photographer who presses his or her nose against the glass of a framed or mounted photo, but for this example, you need to pretend to be a fool.
A common large print size is the 16 x 20 which is a 4:5 ratio. That this ratio does not match the coverage of any standard sensor is lost to the printing and framing industry for the most part. So we are going to be less dumb and go with a print of 17” x 25.5” which basic math will tell us is a 2:3 ratio, which is precisely the ratio used in a common full frame mirrorless or DSLR camera. We know how to calculate the standard viewing distance but we will not because in this scenario we are playing the role of a dumb photographer who is going to look at this print from a distance of six inches away. That this is utterly stupid is not under consideration at this point. When we plug 6 inches into the dpi formula, the size of the print does not come into play at all as we have established and the required dpi for either printing yourself or at a quality lab will be about 1145 dots per inch to avoid said dumb photographer from whining incorrectly about lack of sharpness or excessive noise. If that sounds like a ridiculously high dpi you are correct which further supports the contention that you are in fact, not a dumb photographer. It also informs us that making prints to suit the expectations of a dumb photographer is a complete waste of time and money because you cannot fix stupid.
Why Does This Matter?
If all you make are prints up to 8 x 12 inches or for argument’s sake 8 inches on the short side, and you assume that the average viewer is going to be closer than the 29 inch standard viewing distance, estimate the expected viewing distance and set your dpi from there. In my experience with a physical portfolio, an 8” short side print is commonly held about 18 inches away. Rather than try to educate the viewer (you can’t fix stupid, or get people to wear appropriate optical correction eyeglasses) it’s easier to build your prints for your expected viewing distance. So for me, with an 8” short side print, I set my dpi to about 400 dpi and print accordingly. Now I know that my Epson printer will default to actually printing at 1440 dpi in its High Quality setting and so be feeding it the file with the optimal dpi for the expected viewing distance, I know that I am going to get a decent looking print when viewed close up. Moreover, I do not need to tell the printer to use its Super Fine setting which is 2880 dpi because that will just cost me time and ink that will not be seen by the human eye.
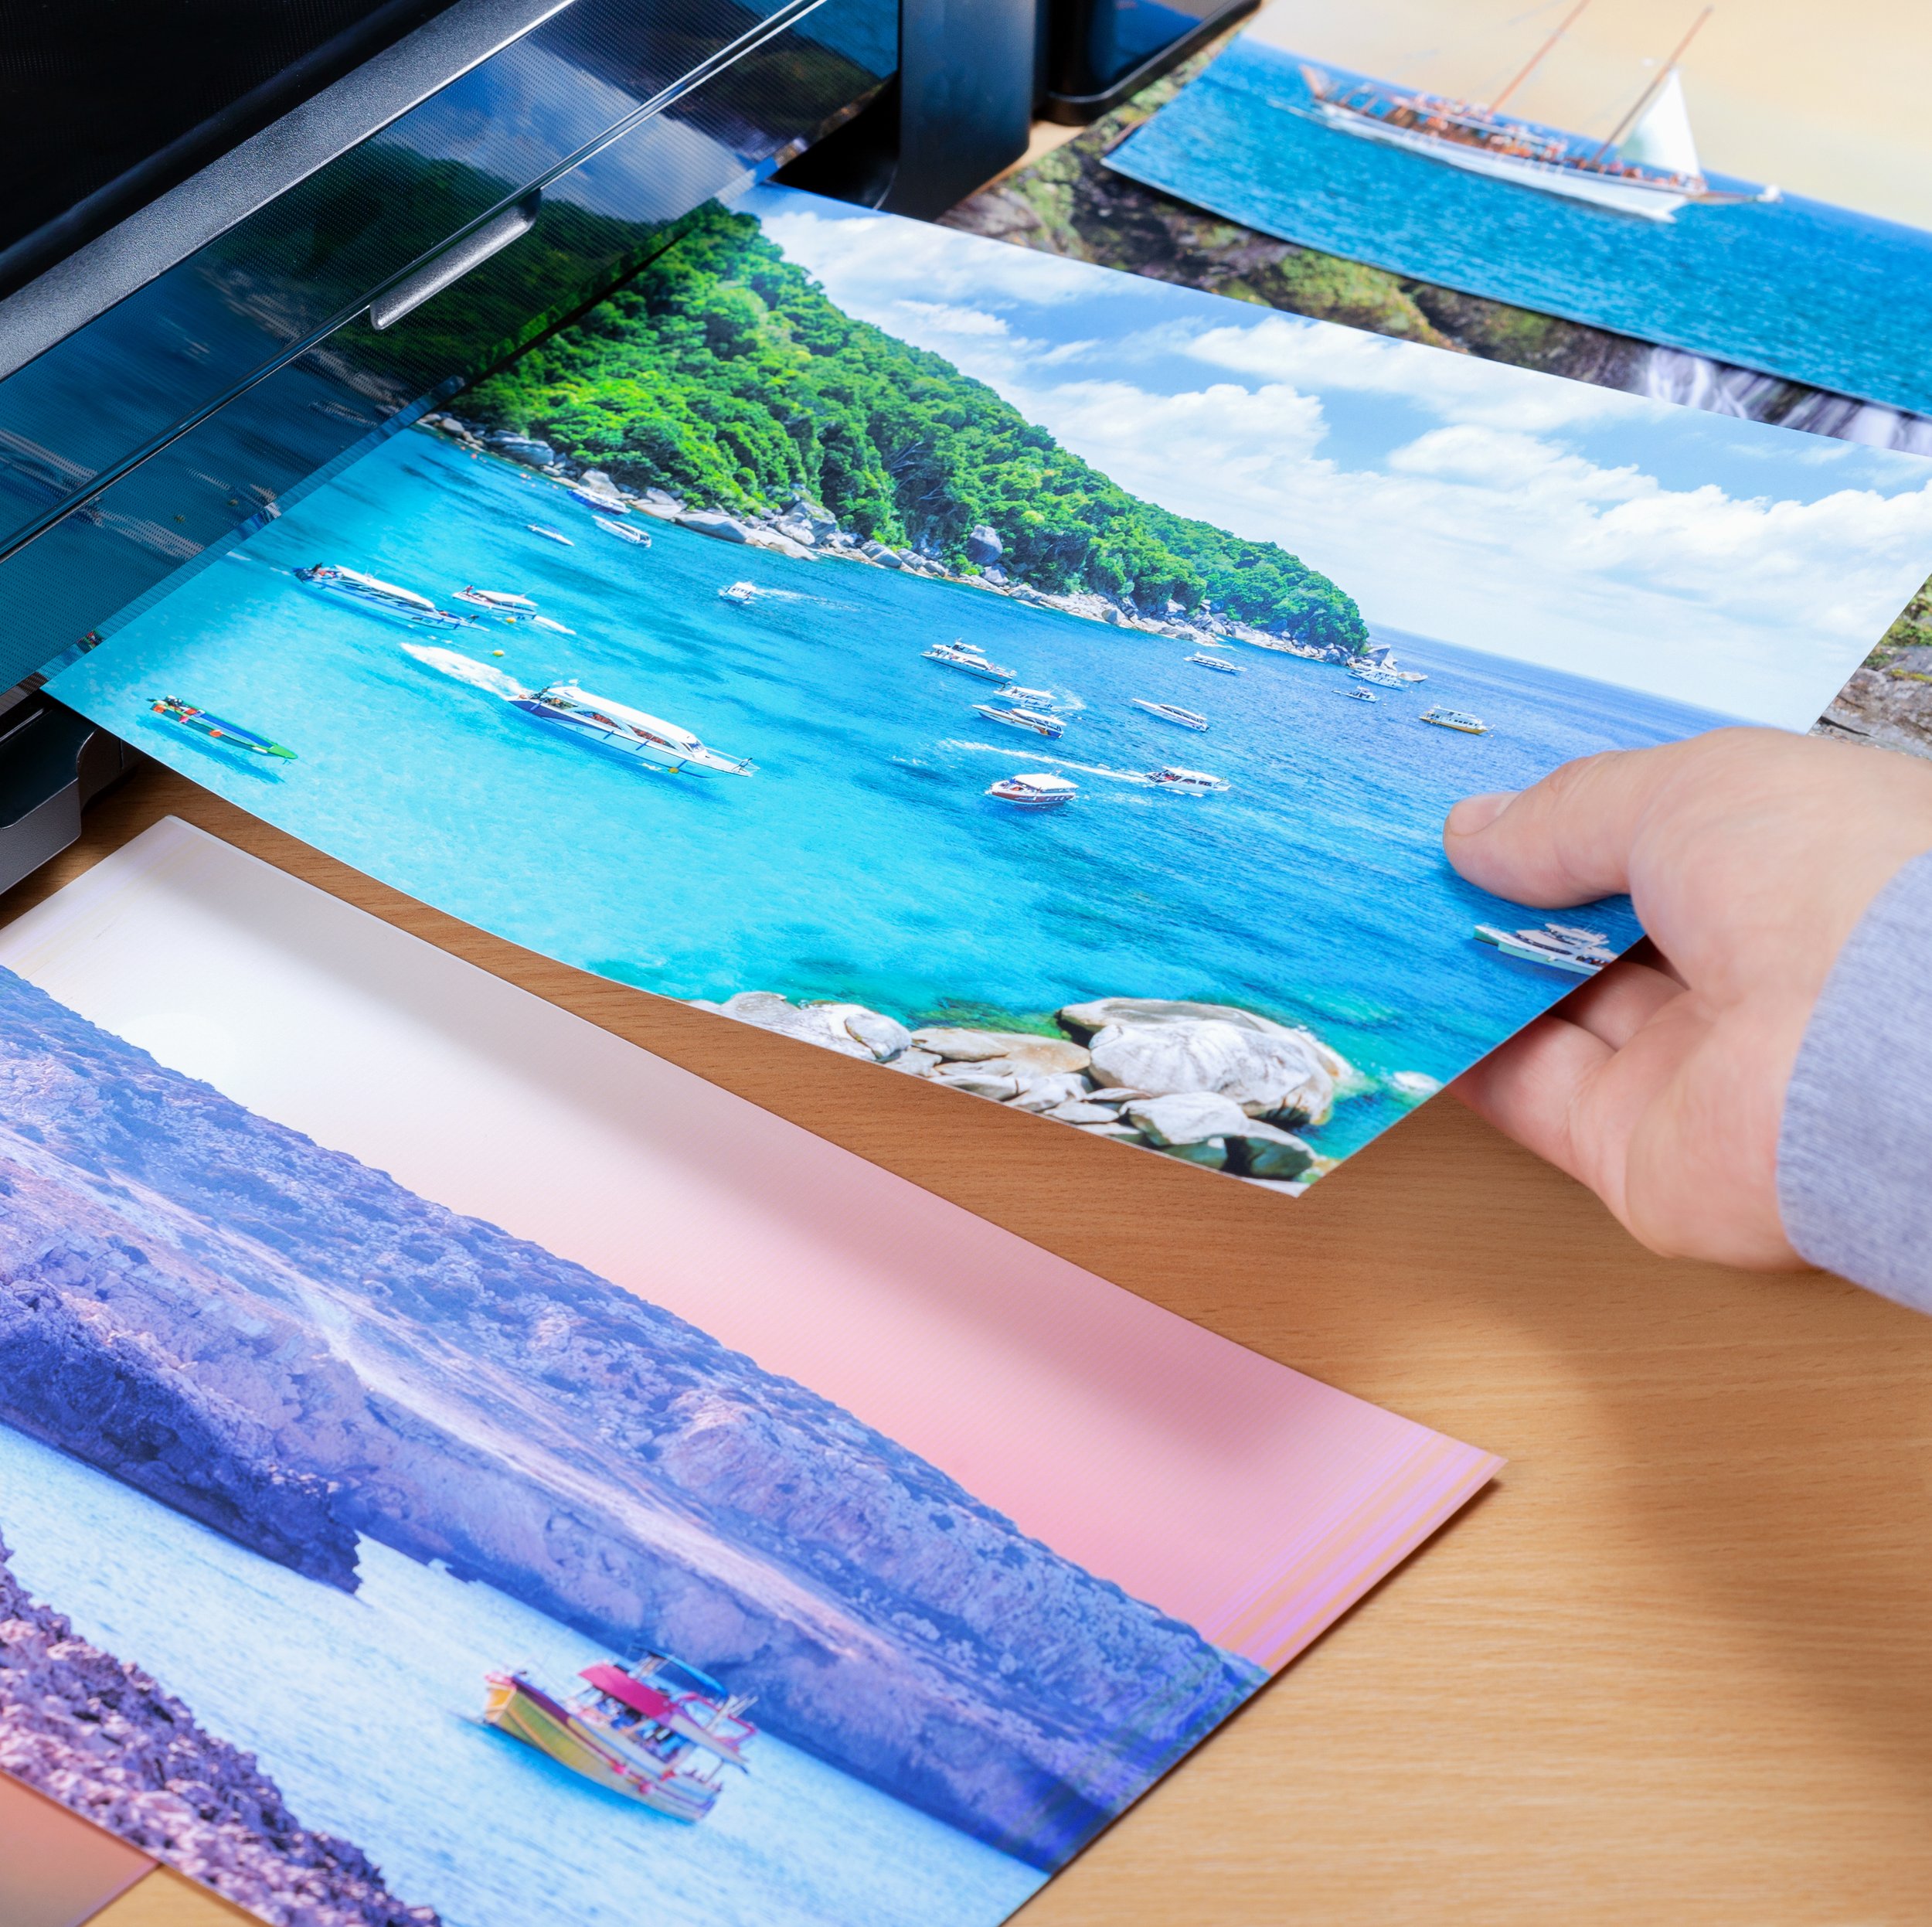
This is a stock photo. For Goodness sake do not handle your prints like this as they come out of the printer!
Photo Magazine DPI
It may surprise you to learn that the photos in excellent photographic print magazines, such as the National Geographic which do not use inkjet printers (they use CMYK commercial printers that measure resolution in lines per inch), translates to approximately 150 dpi print resolution. Since those magazines tend to look fantastic, the obsession with 300 dpi may in fact be overblown. Epson even proposes a default of 240 dpi for the print files for its current printers, not that many people read the documentation.
In Conclusion
I understand that as much as I slam the yutzels on the Internet for the ongoing stream of Toro PooPoo, I could too be viewed as one of those very yutzels. That is up to you to decide, all I can tell you is that I focus on math and facts, not opinion and whether you choose to listen is up to you.
Thank you very much for reading. If you find the work here of value AND you buy from B&H Photo Video, please do so through the link on the website. It costs you nothing to do so, and helps support the work here. Until next time, peace.


