

Why Would I Use a Grid on a Light?
/
Hello neighbours! Good question asked by a reader who wanted to know why grids at all and if there is a difference using a grid on a hard light or on a soft box. Let’s dive in and sort that out!
Lighting Grid Definition
A grid is a tool used in front of light between the light and the subject. Grids can be either solid, or fabric based, and the material matters less than the usability and transportability. They are very simple creatures and there is no necessity to spend lots of money on a grid.
The original grids were invented in Canada and a patent made them quite expensive. Time has passed and grids are now both more available and less expensive.
Think of a grid like a wide meshed screen where each wire in the mesh is very slim on the edge but much wider on its sides. A grid may be 1mm wide on the edge and 20mm deep.
The whole idea is to bring directionality to the light, because one the light passing straight through the grid reaches the target subject. It produces this very directional light that can have harder shadows when used in a dish reflector, medium shadows used in a beauty dish and softer shadows when used on the front of a large softbox. This directionality also controls spill very dramatically so it allows the photographer to put the light quality precisely where he or she wants it. If you are using a light as a hair light for example, you don’t want spill so a grid can help you manage the spill.
Grids come in different measurements sometimes, typically for hard reflectors, so you can choose how tight a spacing you want which means more directionality. Softbox grids typically only have one grid spacing.
Selecting a Grid
We understand that a grid does one thing. It provides us more control over the direction of the light. In order to be effective, the grid is mounted at the source of the light. For hard lights such as speedlights and hard reflectors, the grid mounts directly to the rim. For Speedlights, I have had the greatest success with the Magmod system. Magmod is very easy to use. There is a sleeve that you leave on your speedlight that has the Magmod magnet system installed and then it is as simple as clicking any of the Magmod modifiers to the flash. I really have not found a better and more reliable system.

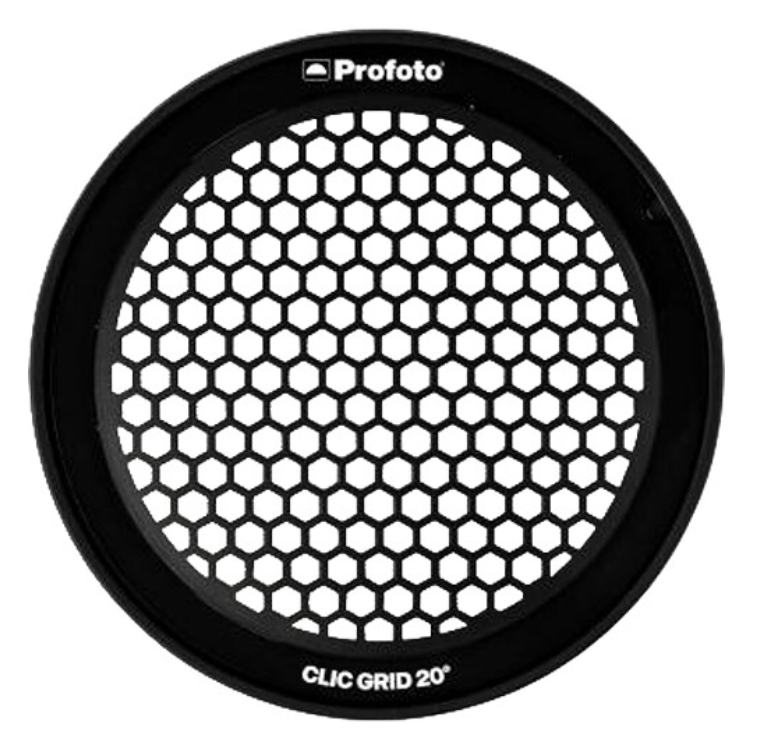
Profoto clic grids of different angles
For hard reflectors, you need to purchase the grid inserts or clip on system for the diameter of the hard reflector. Some hard reflector grid systems work only with a specific hard reflector, so if you use reflectors of different diameters, you could end up with a number of different grids. As my standard for strobes is Profoto, the company makes a series of grids that clip directly to the front of the strobe units and I can use one set of grids on all my strobes and strobe heads. It’s efficient and gives me that very directional light without an external hard reflector required at all.

a softgrid mounted to the front of an octabox
For softboxes, you would look to a softbox maker that either includes a softgrid or has them available for different sized and shaped softboxes. I have softboxes from a variety of makers and some came with grids in the package (Godox) while others (Profoto, Bowens, Elinchrome) offered grids as a separate purchase. If you want a good quality softbox with a grid, it is very hard to beat the Godox products, just be careful where you buy them, because I have seen sellers who break the product box up and sell the pieces separately, a process known as “white boxing” One of the things that I like about Godox is that while they will default to a Bowens style S mount, they have speedrings for all different types of strobes. They also sell adapters to use strobe type softboxes with speedlights. All softgrids collapse very small so they are easily transported and take very little space.
Using a Grid

Mount the grid to your lighting system. It will either click or magnet into place for a solid grid or attach to your softbox using velcro.
Now just aim your lights as you normally would, just remember that the grid is going to really control the spill and directionality of the light, so if you are using a speedlight, a few test shots to ensure that the light is hitting the subject the way that you want it to. If you are using a strobe, it may have a modelling light and this is a nice advantage to have when checking how the light is working for you from a placement and aiming perspective.
Grids and Snoots

A snoot is kind of like a funnel, it makes a more pinpoint light than a grid and as such is less flexible across use cases. However where you want real pinpoint light, you would use a snoot with… You guessed it, a grid. While uncommon for speedlights, these do exist and are a pretty standard part of the toolkit of the strobe using specialist
Impact on Intensity
Because a grid is much more directional, if you meter at all off axis, you may find that you need to modify exposures. This is less common when using TTL flash because it meters at the sensor, but if you are using flash in manual mode, this is a scenario where your handheld flash meter is a real asset.
Summary
If you are into lighting at all, and want to exercise more control over light, as any lighting aficionado would, a grid or set of grids is essential to your kit. They are simple devices, no need to go bankrupt buying them and so long as the grid you choose mounts to the light, that’s really all that matters. Just remember the purpose, which is to tightly manage the direction of the light and you will find hundreds of applications. The more lights you end up using, the more ways you will discover to use grids to make your work unique.
If you like what you learn and see here, please subscribe to the articles and to the podcast. If you shop with B&H Photo Video, please do so through the link on our home page. It costs you nothing and has no negative impact for you, but anything you purchase that way pays us a small commission to help keep things going around here. Thanks as always and until next time, peace.


