

REVIEW : The Gnarbox
/
Gnarbox 256GB
In recent years, we have seen more and more cameras coming with dual memory card slots. Some even have two identical slots to make life easy. If you are shooting irreplaceable images such as at a wedding or other one-time event, dual card slots are a huge value add because you can set the camera to make two separate copies, one on each card.
But what do you do if your camera has only one memory card slot. What if you are on a trip and don’t want to be packing a laptop, but still want to be shooting in full resolution RAWs and not compressed JPEGs? What if you are concerned about memory card loss, or theft or a card going bad? Imagine you make a trip to Santorini and the day after you leave, something horrible happens to your images, are you going to be able to go back and try to replace those images? Probably not.
So, what to do?
Separate Storage
This led me to do some research on current offerings to perform the same function. I looked at backup as the primary goal, not the editing of images. I also made the presumption that you may not always be in the presence of Internet connectivity or reasonably priced cellular data plans (if such things exist at all). I looked for high speed performance, the ability to work as a standalone device and WiFi support as an option but not a requirement, simply because there are still lots of cameras that do not support. In addition to card slots, I required a USB 3 or higher port to be able to take card readers for cards not in the SD model, such as CF, CFast and XQD. I thank the folks at Henry's in Canada for helping me out with this review.
The Gnarbox
According to the Urban Dictionary, Gnar refers to an approach outside the norm or radical. There’s nothing particularly radical here, but it is a cool approach. You purchase a Gnarbox based on the amount of internal capacity that you need. Internal storage is flash memory based, similar to what we see in SSD drives. The Gnarbox is actually a small computer, in a package similar to a small portable hard drive. It has WiFi, USB3, USB2, a microSD slot and an SD style card slot. The battery can drive it between 4 and 6 hours on a charge. There are companion apps for iOS and Android to allow on phone editing and sharing of your images. Data transfer is quoted as up to 4 gigabytes per minute. The Gnarbox comes in two configurations, one at 128GB and one at 256GB. The larger model could support four full card dumps from 64GB memory cards so usable by most folks. The Gnarbox is stated to be water, shock and dust resistant.

Gnarbox ports are behind weather resistant doors
Set up is very straight forward. Charge the Gnarbox up using the provided USB cable. You can use a laptop to charge, or if you have a wall wart style USB charger, you can use that. While the device is charging, head over to the App Store or Google Play store and download the Gnarbox app. Turn the unit on and connect to its WiFi. Do not throw the box away because the WiFi password is printed inside the lid. Once installed launch the app and follow the simple instructions on screen to set the device up. I had the 128GB unit and it showed 575mb used for sample files and 107GB free for storage right out of the box. The tutorial button links to YouTube for training purposes. You can mount the Gnarbox to a computer as an external drive, and this is good for transferring files quickly using USB3. The total storage of the Gnarbox is somewhat limited to use as an external drive, but that is not what it is designed to be.
Booting the Gnarbox takes about a minute, which brings the unit up as well as engaging the built-in WiFi. I very much appreciate that once you have connected the device once, reconnection is very easy.
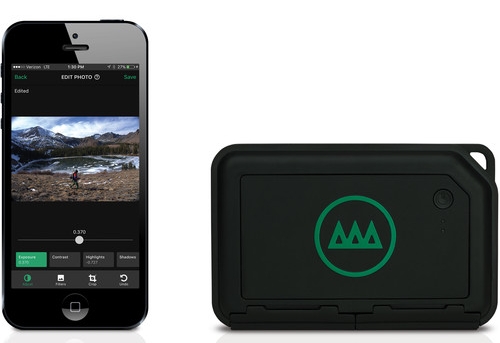
Gnarbox app running on an iPhone
The Gnarbox app gives you an overview of what is on the device and you can then drill in for a folder view. Once you are inside the app, you can select an image or video and engage the app’s editing functions to prepare your work for sharing.
I’d suggest that the editing is relatively basic, given that the intent is to make the image rapidly shareable, so you are not going to see the level of sophistication as you might find in Lightroom CC or Premiere Clips, however when you consider what the typical buyer will want to do, it’s certainly decent enough. You aren’t going to be doing large complex edits on your phone, but you may be doing lightweight high-speed edits and that is what the app is designed for.
If your primary goal is backup, the Gnarbox may be overkill. However, if you are looking for one place to backup, edit and share your stills and videos, it may work perfectly for you. The Gnarbox apps can open some RAW files. It had no issue with videos from a Fujifilm X-H1 but while it could see the JPEGs embedded in the RAW files, it could not deal with the RAWs themselves. This is less an issue with the Gnarbox, than the ongoing need to get updates to deal with ever changing RAW file structures. This only impacts the ability to edit these RAWs, the Gnarbox is still perfectly capable of backing them up. The Gnarbox site documents precisely what is and what is not supported. After going through the list in detail, I can say that there is nothing major left out that would render the Gnarbox less useful.
Please note that the Gnarbox viewer and editor will not work if the Gnarbox is not powered on and connected to the smart device by WiFi. This makes sense of course; your phone is the software interface, but the images and clips remain on the Gnarbox. This avoids loading up your phone’s limited storage and because you can connect the Gnarbox to a computer for offloading, it makes that entire process much faster and smoother than with a phone.
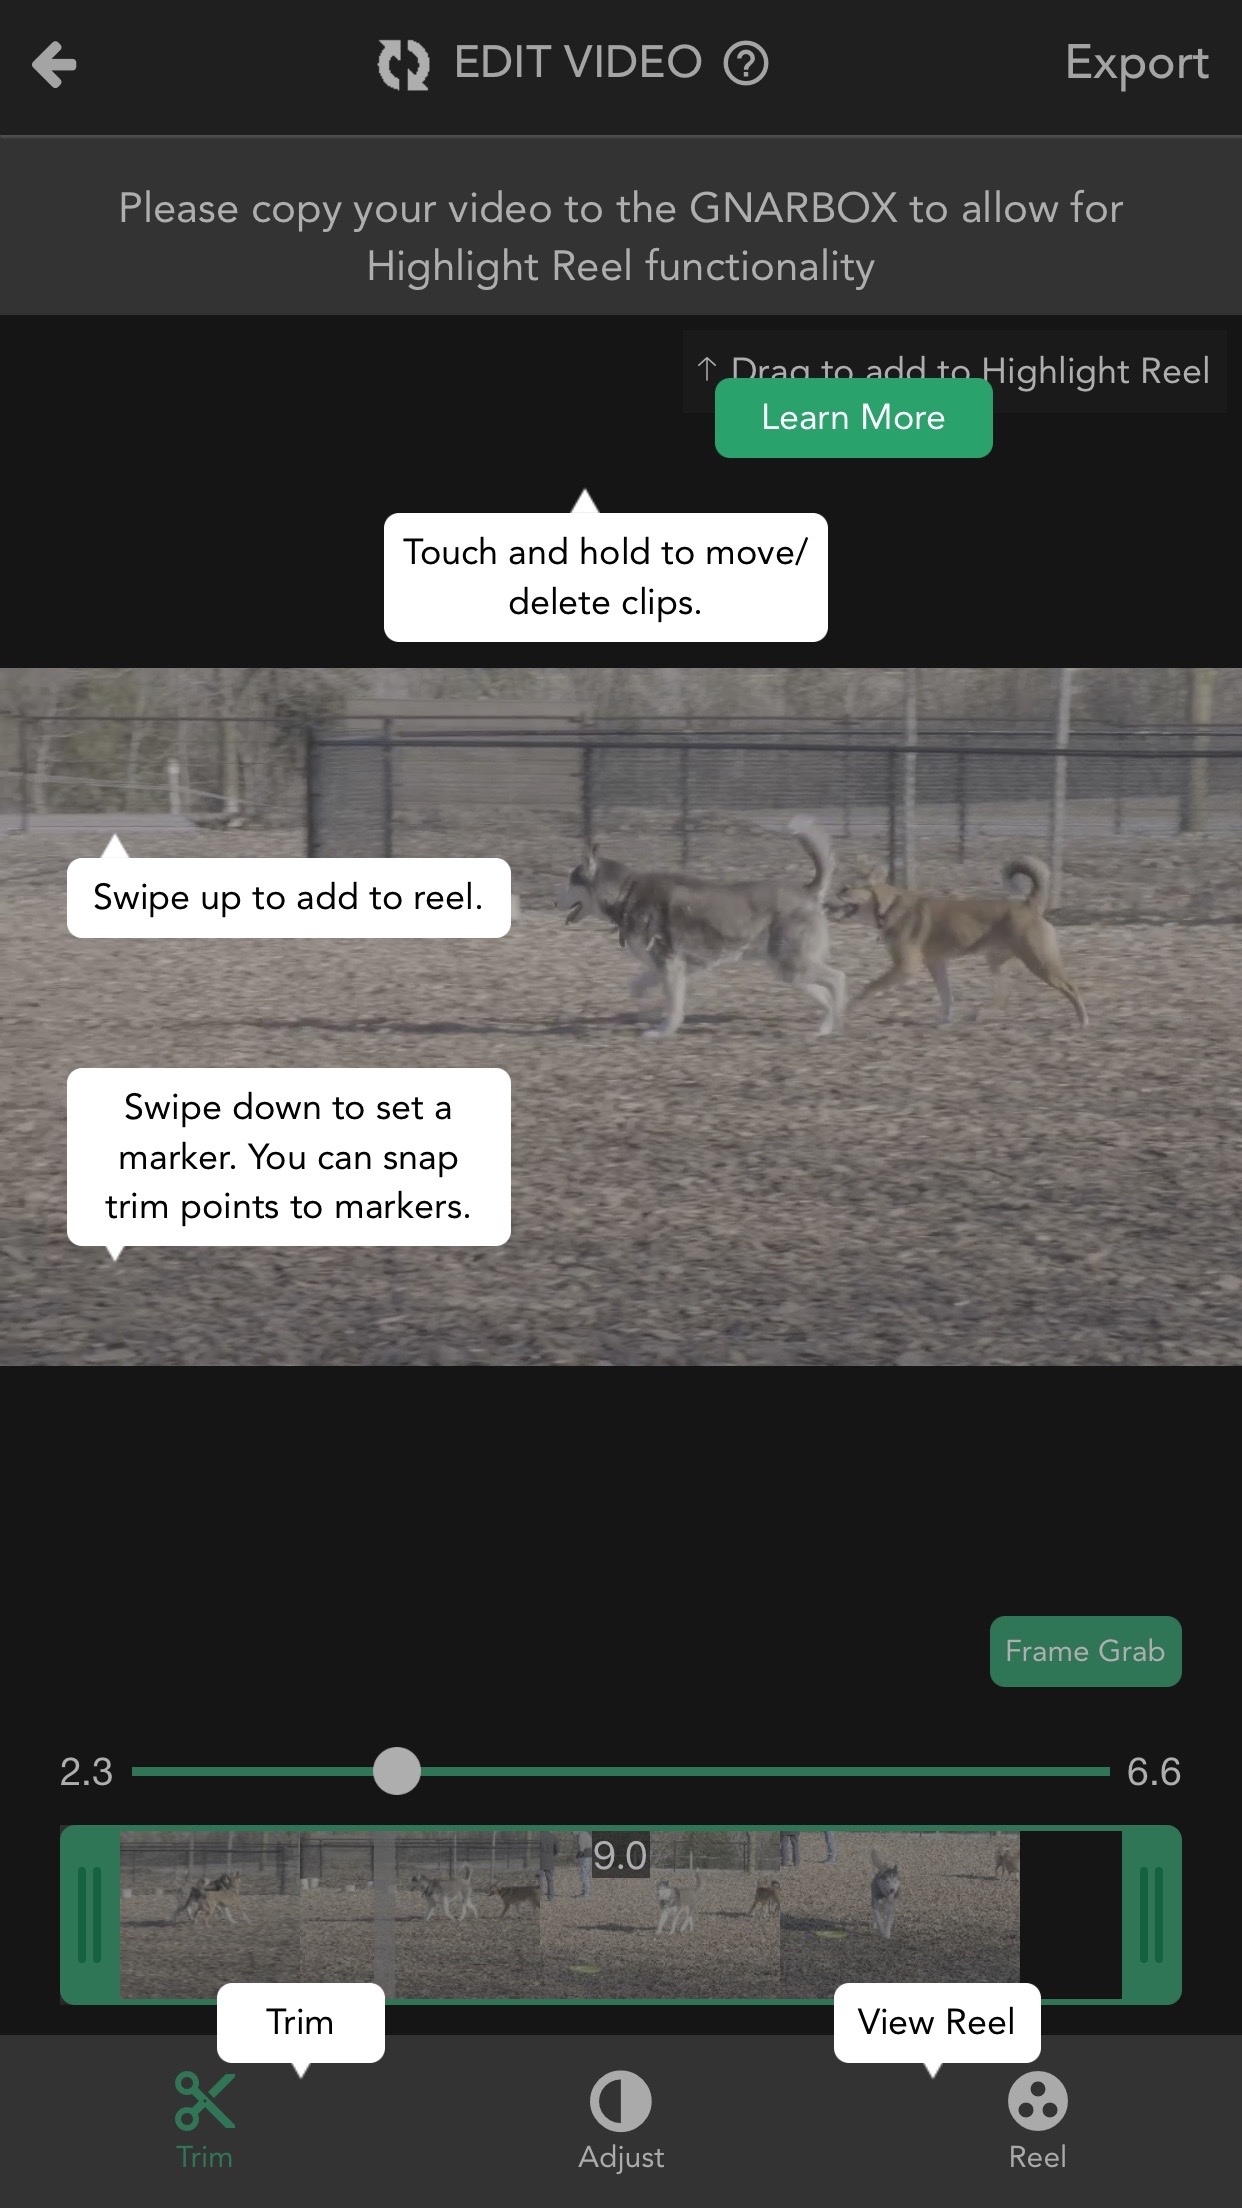
Gnarbox app video editing screen
The editors, as noted, are simple, but the UI is clean and easy to use. Everything is by slider so you can easily obtain the look that you want, so long as the Gnarbox supports the file format that you are using. Remember that even if the Gnarbox editors will not support your specific filetype, there may be an editor available for your smartphone that will, and it is simple enough from the Gnarbox application to transfer images or clips to your smartphone’s local storage where you can then use the specific editor. I tried this with a 360 video file, that the Gnarbox could backup but not directly edit. I copied the file directly to the phone and then used the OEM app to do some quick trims and basic colour and was done quickly.
When connected to the computer, using the supplied USB3 cable, the Gnarbox behaves just like an external drive. You activate Mass Storage mode from the app and your computer sees the Gnarbox as an external device. It mounted with no issue on my Macintosh and you can manipulate files and folders as you wish. Unlike other apps that use a proprietary catalogue system, you can delete a folder on the computer and when the Gnarbox next launches in collection mode, that folder is gone, with no detritus left behind and no “missing folder” nuisance popups.
Help and Support
The Gnarbox team has done a lot of work on creating tips and FAQs on their website. While they readily invite direct customer contact, I never needed to reach out directly, finding all my questions answered in their comprehensive online materials.
Getting a Gnarbox
You need travel no further than your local Henry’s store or the online store at Henrys.com to obtain a Gnarbox if you live in Canada. If you live elsewhere, consult your favourite online photo store or local camera shop.
The 128GB version is at https://www.henrys.com/100495-GNARBOX-128GB-PORTABLE-BACKUP-EDIT-SYS.aspx and sells for $389
The 256GB version is at https://www.henrys.com/100496-GNARBOX-256GB-PORTABLE-BACKUP-EDIT-SYS.aspx
Conclusions
The Gnarbox is a good choice for those working in more hostile environments, who need to share quickly, but who do not need lots of storage. At just under $500 for 256GB, it’s substantially more expensive than a standalone portable hard drive to use with your laptop. The benefits are that it is self-contained and has the companion software for editing and sharing. Bring along a USB3 card reader if you use any other format cards, or if you want the fastest import for SD UHS-II cards.
You may look at the cost and determine that you don’t want to spend this kind of money for a field backup solution. That’s a personal choice, but if you shoot a special event like a wedding, this is very cheap insurance to help prevent critical data loss, that will destroy your reputation and could bring about a legal action. The ability to do a quick edit in the field and get it on social media right away will be a big win for such folks.
Have an idea for an article or tutorial? Do you have a question photo or video unrelated to this article? Send me an email directly at ross@thephotovideoguy.ca or post in the comments.
If you find the podcast or articles of value, consider clicking the Donation tab in the sidebar of the website and buy me a coffee. Your donation goes to help me keep things going. Email your questions on any photo or video topic and I will try to respond within a day.
I'm Ross Chevalier, thanks for reading, watching and listening and until next time, peace.


