

Photolemur : A Quick Look
/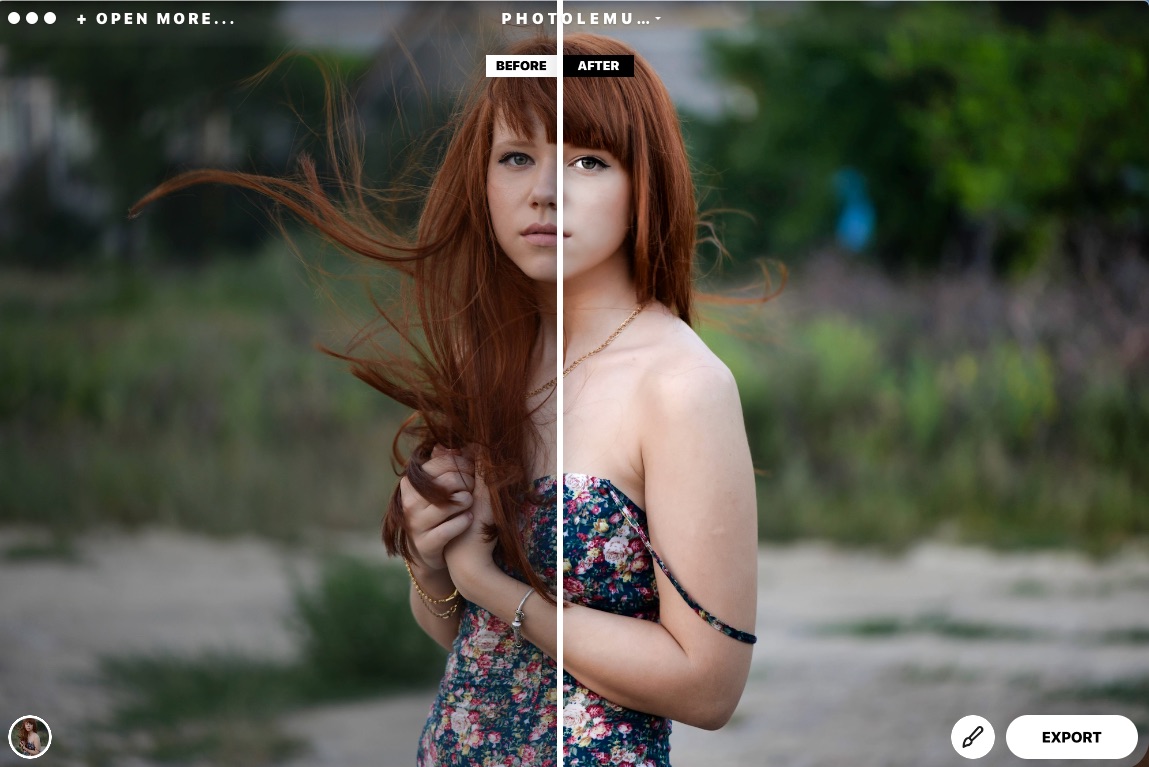
The Photolemur interface could not be much simpler
I’ve had a good working affiliate relationship with the folks at Skylum since they started up as Macphun. I like their products and appreciate the attitude that they bring to the marketplace. They’ve got an AI based tool expected in September of 2018 and allowed me to work with a prerelease version for this article. Please note that I am working with early code, and more features and functions may appear in the shipping product. As I write this, it’s available for preorder with an MSRP of $55.
Choice is a good thing when it comes to photographic tools and utilities, but one place that I had (have) no interest is in tools that auto everything. Since this kind of thing crawled out of the ooze and over the years been enhanced with so called AI, I’ve never cared about them. because I would not use them.
Then some new photographers started asking about these kinds of simple tools, and the topic came up when I was a guest speaker at a camera club. I decided to take my personal hat off and try to approach these tools as someone brand new to photography who had not developed the urge or use case to do real editing.
“Real Editing” probably sounds snarky and perhaps offensive, but I don’t consider AI tools real editing, any more than I consider slapping presets on images creative. But there are folks who like and want that sort of thing.
I don’t shoot JPEGs and would much rather scan through RAW previews and edit the ones that I want to. When talking to the folks interested in tools like Photolemur, I learned that most of them don’t really want to edit at all, they want a simple one touch solution to “fix” their images. One person said that they wanted Google Auto Awesome but outside Google. I admit I threw up in my mouth at this as I have only ever found Auto Awesome to be Auto Awful. Anyhoo…
Photolemur runs standalone and has a very simple drag and drop interface. Photolemur can also act as a plugin to Lightroom and to Photoshop.
You can load an image into Photolemur by launching the app and dragging a photo onto it, or by using the Open More Images option. From a layout perspective the product is much more like what you find on a smartphone than a Windows or macOS interface oriented application. Again, trying to think like the target user, this makes sense.
The interface is very sparse. The menu options are very limited, the app is really designed to be used via the direct interface not the menus. In addition to the Open More option, there is a styles callout in the bottom left, an icon that looks like a brush that is really just an intensity of effect slider and an Export button. Single purpose design and single purpose UI keeps things very simple.

This is how the styles reveal themselves. A mouseover shows the title. The plus button takes you to the Skylum Marketplace where you will be able to get additional styles over time
I looked at the Styles options and as is common with some of the Skylum software, the naming conventions really don’t have any particular alignment to what the style does. What does Noble or Evolve say to you? Let’s agree that they meant nothing to me, so trying them was the only way to find out what they do. Funny enough, the default style is called No Style. Please remember, I am not a preset person. Unlike presets in some other software, the only control you have for each of the seven styles is the intensity control which varies from off to on over a range. Do note that the style called No Style actually does make changes to the image. Which makes sense because if you did not want to make changes, why would you be using the tool in the first place?
The styles are No Style, Apollo, Fall, Noble, Spirited, Mono and Evolve. Skylum supplies a sample image of a waif like young female model. Rather than try to describe what each style does, I have included screen captures of what comes with the program. You can click a Plus button and be directed to the Skylum store where you can buy more styles.
You can only add a single style to an image, there are no stacking of styles or layers that I can find, and this makes sense given the target audience I suspect.
The Sample Gallery
Literally a sample gallery because I used the Skylum supplied sample for each of these, specifically because it gives a really good indication of the effect of each style.


Easy to Use
I’m not the target buyer for Photolemur. But for the person who is, they are going to like the product very much. The learning curve is short and nearly flat. You can work with the software right after installation, it’s that simple. Choose a style. Try different intensity levels. Want to try another style? Go ahead. There is zero complexity here. Once you find a look that pleases you, press the Export button.
This is also simple. There are predefined options for Email and for SmugMug, as well as for a disk based file that you can upload to wherever. The file format is JPEG and the Advanced options allow you to control final image size and JPEG quality in addition to where the file gets save. Simplicity itself.
Who’s The Buyer?
I expect that the very smart folks at Skylum have this all sussed out. And I think that they know their business. The price point is not crazy and fits well into the market for folks that shoot a lot on their smartphones, but want better final image quality than that found in most smartphone look applications. Even folks shooting what I would call a “real” camera want to get their images to have a look fast and get them up on social media and Photolemur will help them get that done very quickly. Is it for an advanced photographer who shoots only RAW and loves the digital darkroom? I think not. And, that’s ok, we all have different needs/wants and good for Skylum for building products that address different buyers.
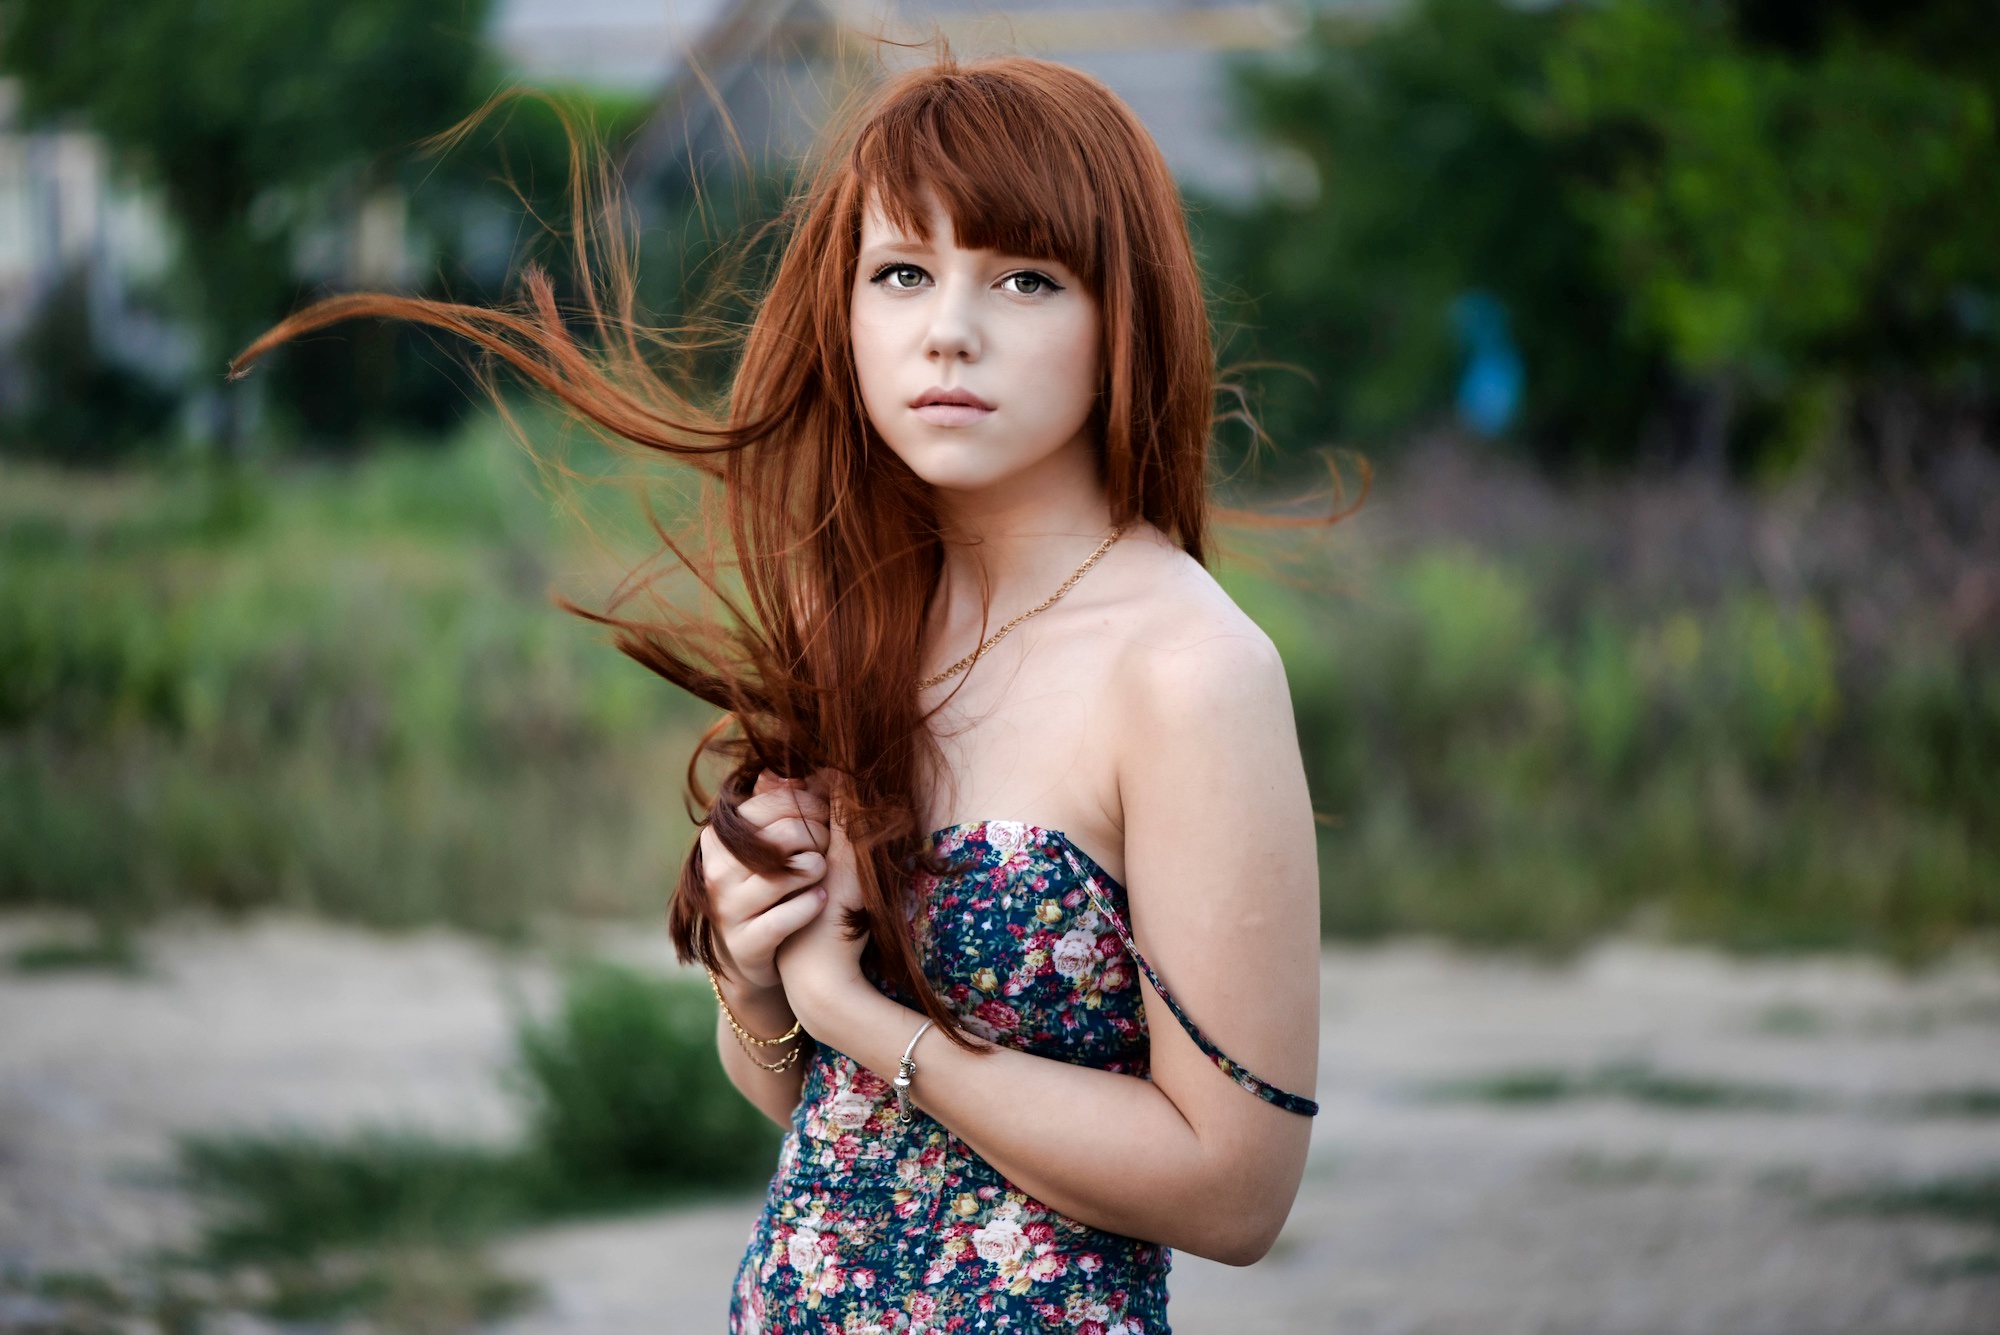
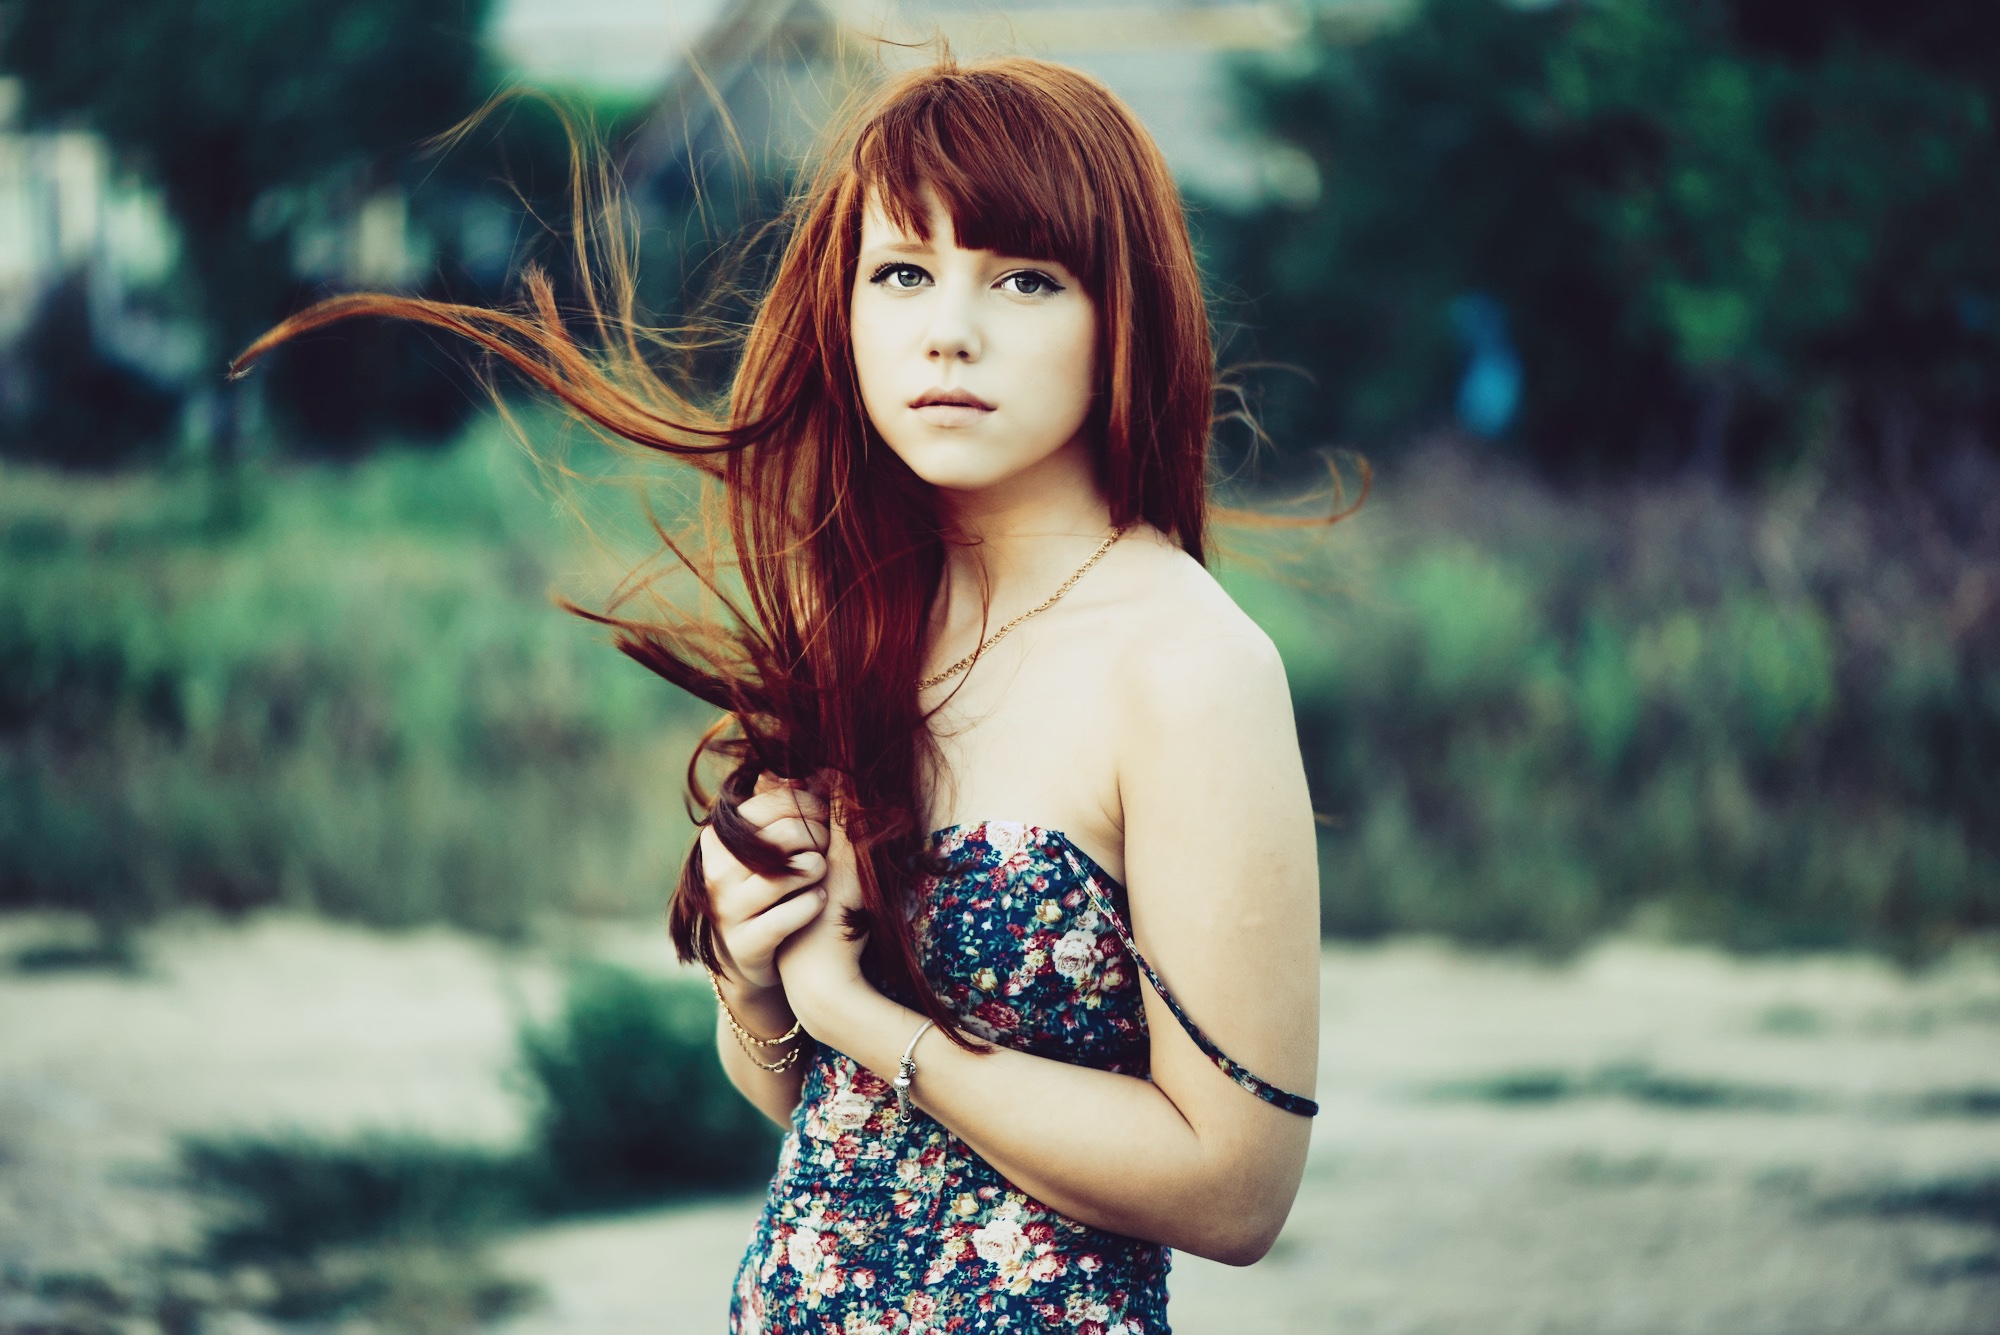
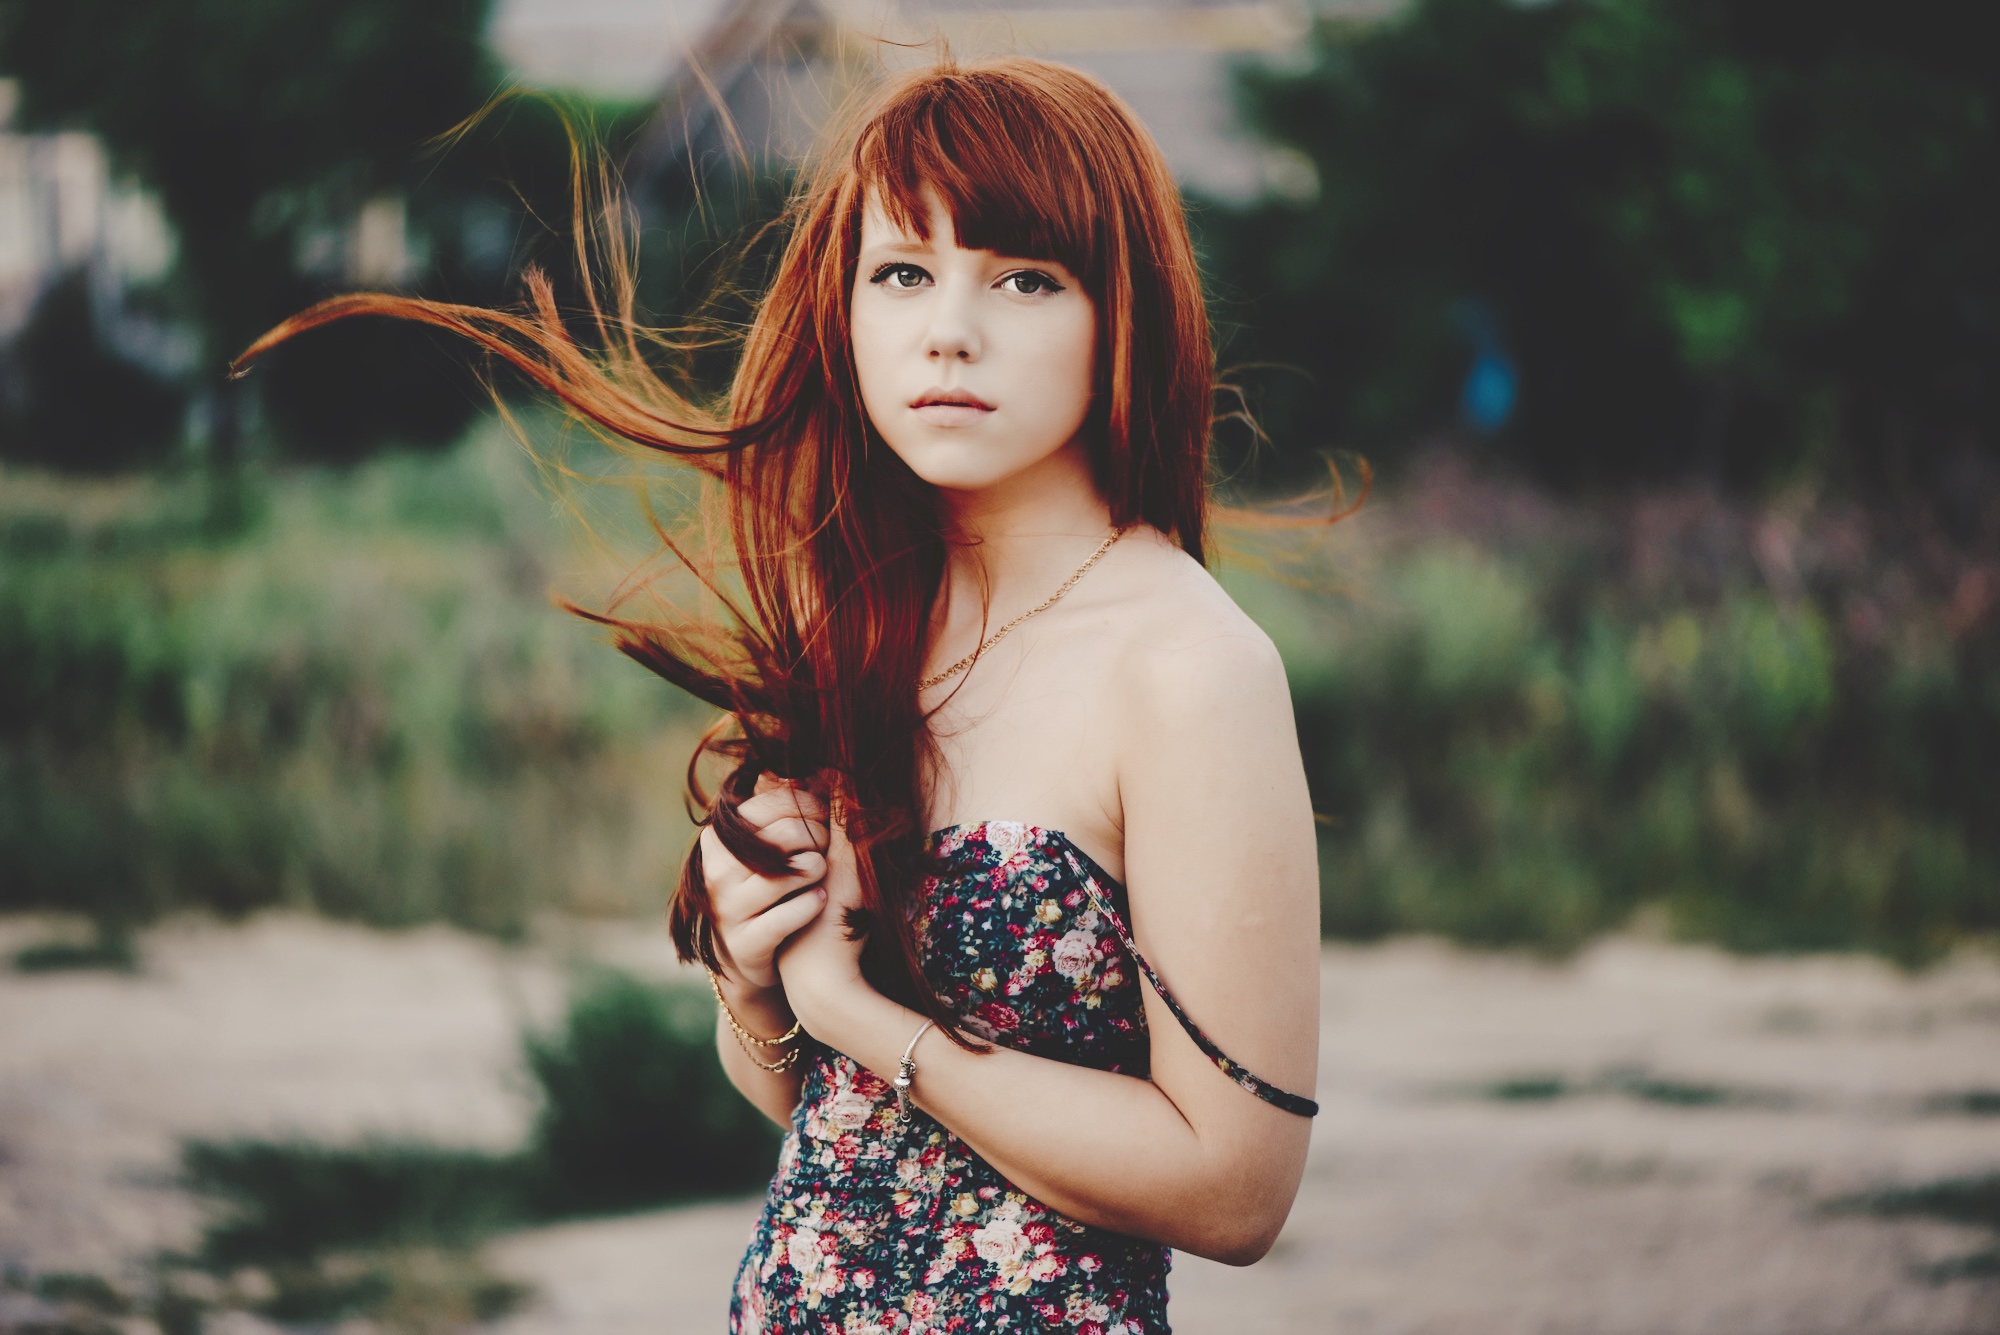
Another Example
In this case, I took an exported JPEG from my archives that had already had some work done to it in Lightroom before export and then ran it through Photolemur with the No Style option to see what would happen. You can decide for yourself which route that you would prefer.


Final Thoughts
For those folks who are looking for rapid and simple AI driven stylizing tools, Photolemur might just be your tool of choice. It’s coming for both Windows and Macintosh platforms and you can find out more by clicking this link.
On an unrelated note, it looks like with the exception of Luminar, Aurora HDR and Photolemur, all the other former Macphun products such as Intensity and Tonality got totalled by a truck on the highway. They’re gone. I presume that this means discontinued and dead. Which would be too bad, because they were really good plugins.
Have an idea for an article or tutorial? Do you have a question photo or video unrelated to this article? Send me an email directly at ross@thephotovideoguy.ca or post in the comments.
If you're in Canada, please consider shopping with Henry's in your local store or at www.henrys.com If you're in the United States and shop with B&H Photo Video, please consider doing so through the link on thephotovideoguy.ca as this helps support my efforts and has no negative impact whatsoever on your shopping experience.
If you find the podcast or articles of value, consider clicking the Donation tab in the sidebar of the website and buy me a coffee. Your donation goes to help me keep things going. Email your questions on any photo or video topic and I will try to respond within a day.
I'm Ross Chevalier, thanks for reading, and until next time, peace.


