

Keeping Your Photography Going During the Holidays
/
For many “serious” photographers, the holidays can become a very quiet period. Even with COVID keeping us apart, the majority of holiday images tend to be oriented around family and friends, in a very casual atmosphere, with most of the images shot on smartphones. Sometimes its because when family and friends see your kit come out, the groaning and moaning starts, sometimes it’s because you just aren’t inspired. I get it.
To help you keep moving your craft ahead, here are some quick tips for holiday image making and ideas to keep you on the shutter release.
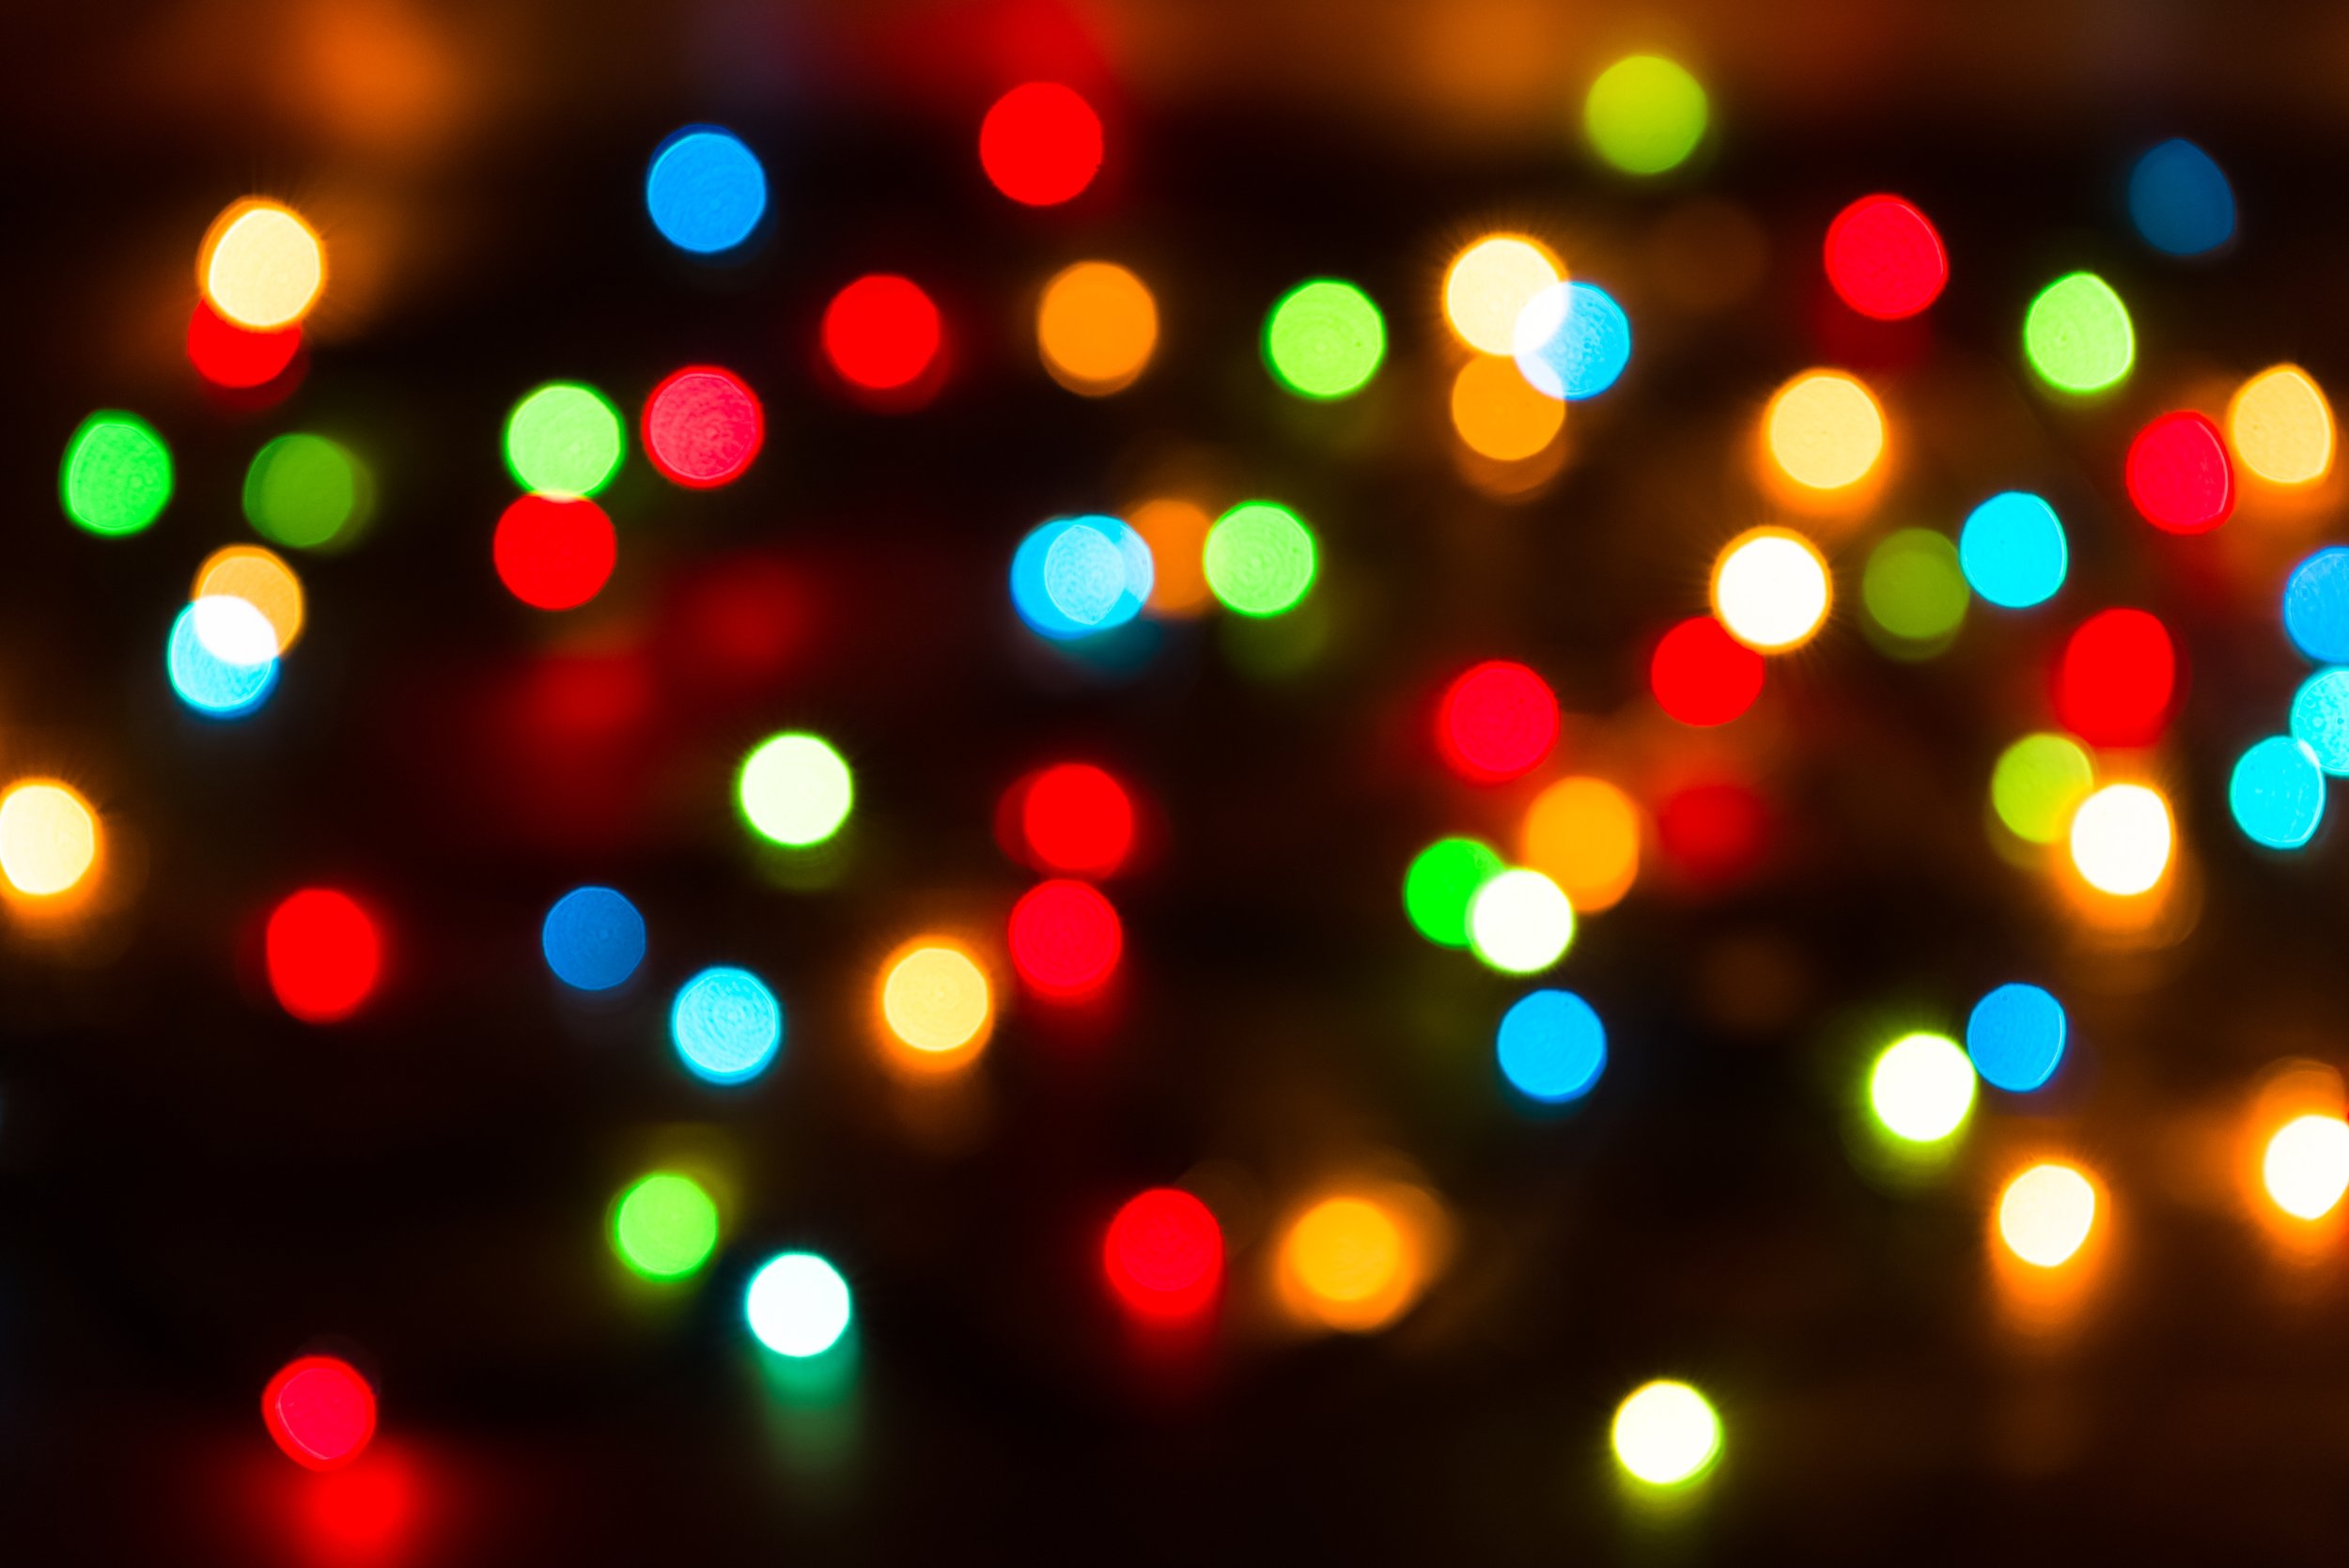
The Trite and So Popular Bokeh Christmas Tree Light Shot
Ok, that lead in sounds like this is a really crappy idea. And as podcast co-host Gordon points out, this is the number one subject for endless internet posts about Bokeh. Instead of talking Bokeh to death, set your camera up on a tripod and compose an image with lights at different distances. Now with whatever lens you use (standard focal lengths to short telephotos work most effectively for this in general), find three planes of focus, near, mid and far. Set your lens to its maximum aperture, and use your AF selector to allow you to spot focus on the three different distances. You will want to get your camera/lens combination in as close as possible to maximize the impact of narrow depth of field. Shoot a frame at each subject distance and from the three find the one that appeals most to you. The out of focus balls of light will either contribute or take away from your overall image. Your intent is purely and solely an exercise in narrow depth of field. Once you have the one image that you prefer, edit it to a creative effect that pleases you. As you are the creator, the ONLY thing that matters is that you like it.
The Ornament Close Up Shot
Holiday ornaments (at least the old fashioned kind) have enormous levels of detail and are also highly reflective. This makes a good challenge for close up work while you minimize reflections. You will have multiple angles and multiple surface types. If you have a shoot box, great, but if you don’t, it’s easy to make one from white foamcore, or if you are handy at all from a simple wooden frame covered in something translucent. I use a variety of density of scrim materials, but you can do this with a cheap white shower curtain liner that has no pattern, which will set you back about $5. However you make your shoot box, position your lights (anything will do) so you get the softness of the light that reveals the details without making the image too contrasty and make those detail images. Try to fill the frame with only a part of the ornament, not the entire ornament. You want to create some dynamic mystery and not immediately tell the viewer that it’s another ornament shot. Make the viewer look. We still have some metallic glass ornaments left over from when my parents were young, and while it is amazing that they have survived 70+ years, they are so very classic and there’s no plastic in sight. Whatever you choose, seek out texture, reflection, colour and angles. Once you have a shot, it’s a great exercise in retouching to remove dust specks and to use masking to focus attention where you want it. Reflective ornaments are hard work but success is highly rewarding.
The Texture Shot
During the holiday season we will see textures that are ordinarily not evident. Consider the textures and patterns in a special piece of wrapping paper, or even a brown paper package tied up with string (look it up). Ribbons, bows, bells and the like bring many interesting aspects forward. Again, worry less about what you use for lighting, just manage whatever you do use to emphasize textures and colours. Fill the frame and see if you can make the viewer guess what the subject actually is. You may find that getting enough depth of field in a single frame is challenging, so this is a good project on which to practice your focus stacking skills. Many of us have extension tubes or macro lenses and this is a very easy work indoors home project that can produce very compelling results. Then use your editing tools to make it really pop.
The Outdoor Night Shot
Certainly you can go out and photograph neighbourhood holiday light displays. Some folks go all out on this. My challenge to you is much simpler. It’s nicest if you have some snow for contrast, but even if there is no snow where you are, this shot can work for you. Get a candle in a nice looking holder and create a shooting location. Manipulate the area to remove detritus and create a natural frame. This is where the snow is helpful, but you can do it with crumpled parchment paper. Once you have your composition set, make an image with the camera on a tripod at whatever the camera thinks is the proper exposure when you are filling the frame with your candle. It may or may not suit you, so make at least two more exposures, one at two stops over (+2 EV) and one at two stops under (-2 EV). While it is wonderful to get the final exposure bang on in camera, this is less important for this project. Bring the image that appeals to you most into your editor and adjust the whites, blacks, shadows and highlight as well as a curves adjustment to really bring the detail and depth out of the candle. The use of snow or parchment paper under the candle will throw some reflection back up from the flame and fill the shadows more effectively than a dark background. As you are editing, do not worry at all about what is happening to the background, the candle is the subject and is the only element that matters in this project. Once you have the candle looking the way you want it, put a radial filter around the candle and set it so edits leave the candle alone and only impact the surroundings. Blur that background area and drop its exposure so it is nearly completely dark. It should not be influencing the candle at all, the candle is the only story here. For extra credit, shoot multiple photographs and layer them together using masks so only the flame shows through and you get multiple orientations of the flame in your final image.
Shots With Creative Filters or Lenses
If you have a Lens Baby or even some of those shape creation films from the Dollar Store, this can be a good time to practice with them. Use the distortion effects that these tools create on any image with bright highlights and colours (like tree lights) to create repeating patterns, or swirling depths or something that calls out movement. Our natural experience is that these subjects are always static. By making them appear to move, you create an uncommon perspective that will catch the viewer’s eye.
The Family / Friends Photo Booth
People generally don’t like staged family images. Some, often of the male gender, are reluctant to participate. So if there is going to be a gathering of family or friends, set your gear up in advance, tucked away in a corner as a photo booth type of thing. All you need is a camera, tripod, single lens, flash with a modifier such as a white umbrella and a remote release cord. You don’t even have to do the work. Preset the shutter speed to flash sync, set the aperture to deliver enough depth of field, leave the camera on autofocus and the flash on TTL. Now folks can go into the booth, pick up the remote and take images of themselves and a couple of others in the space when they want to do so. Sure not everyone will play, but those who do are going to have fun and while these are basically selfies, they are going to be well exposed, well lit and usable selfies. Some folks put up a neutral grey background, so the people can be separated out later and dropped on a variety of fun backgrounds in editing.


While it is tough for some to keep the creative juices flowing during the holiday season, it does not have to be so. Just have some fun. stay relaxed and keep on making images. If you find the idea challenging, why not just try duplicating on your own some of the sample images here?

Do you have an idea for an article, tutorial, video or podcast? Do you have an imaging question unrelated to this article? Send me an email directly at ross@thephotovideoguy.ca or post in the comments. When you email your questions on any imaging topic, I will try to respond within a day.
If you shop with B&H Photo Video, please consider doing so through the link on thephotovideoguy.ca as this helps support my efforts and has no negative impact whatsoever on your shopping experience.
If you find the podcast, videos or articles of value, consider clicking the Donation tab in the sidebar of the website and buy me a coffee. Your donation goes to help me keep things going.
Click this link to submit your questions
I'm Ross Chevalier, thanks for reading, watching and listening and until next time, peace.


