First round with the Sinar P 4x5
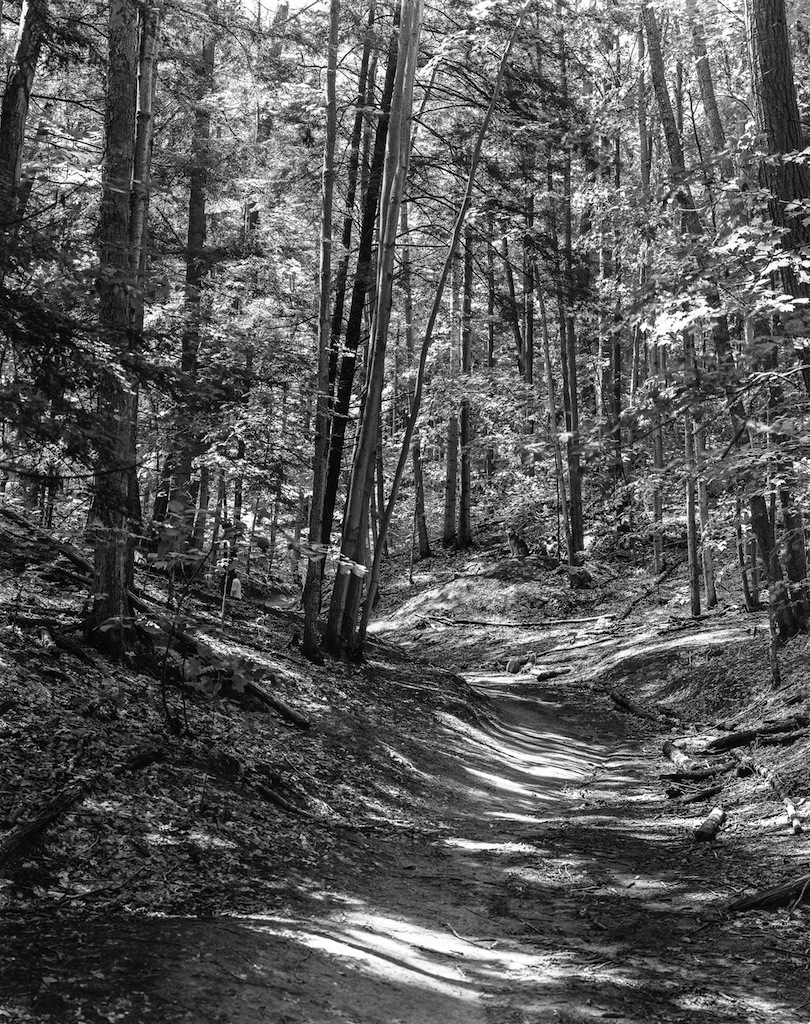
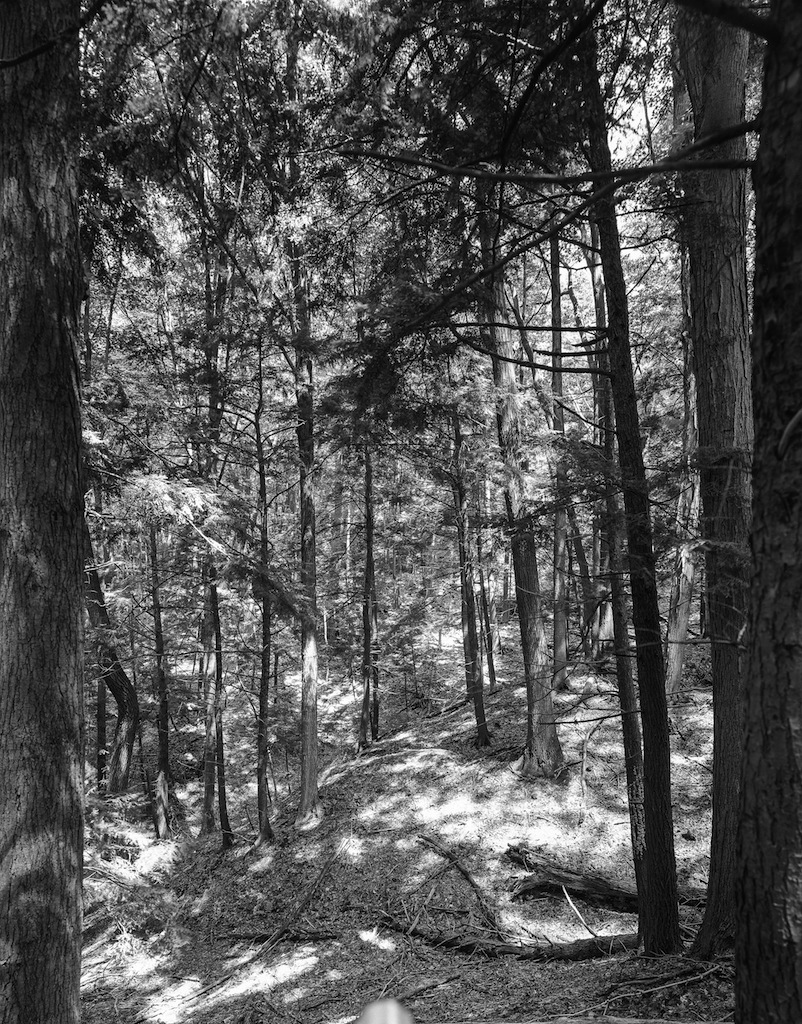
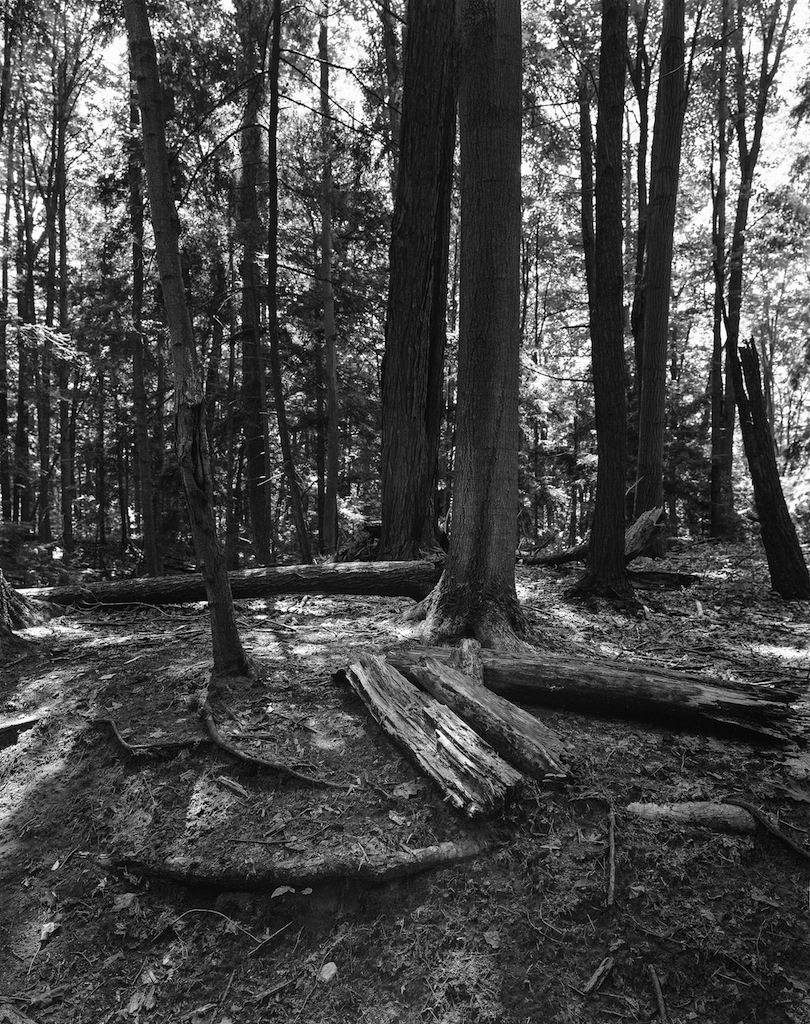
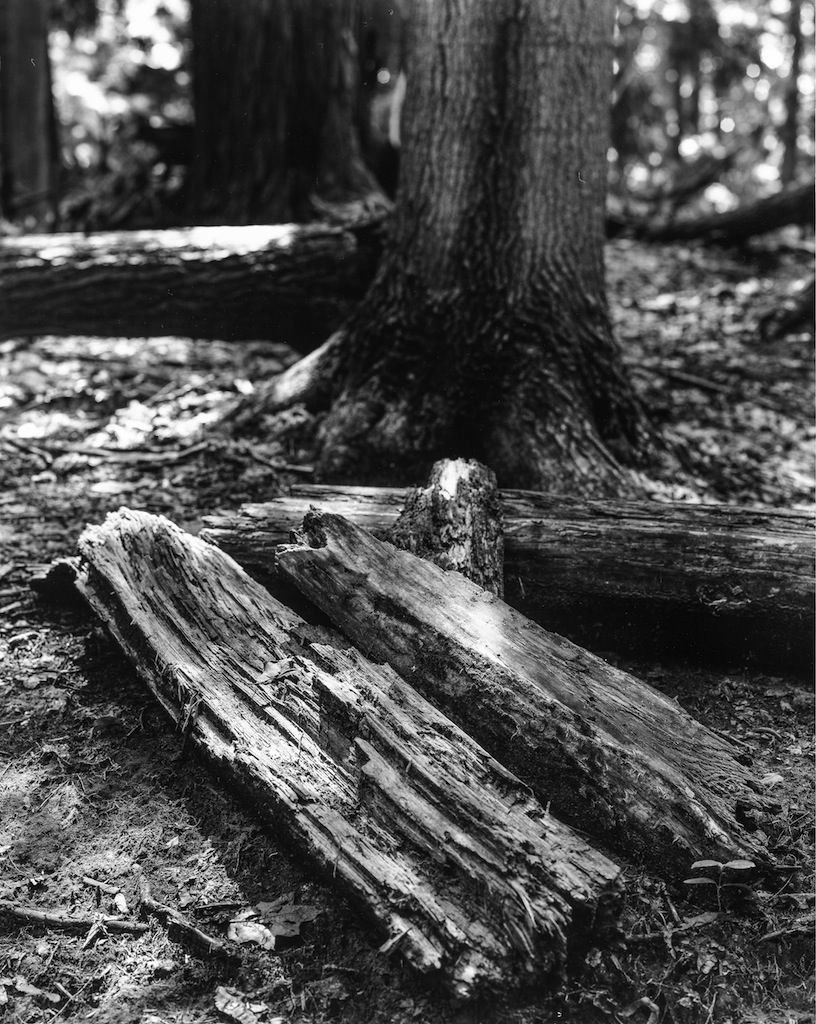
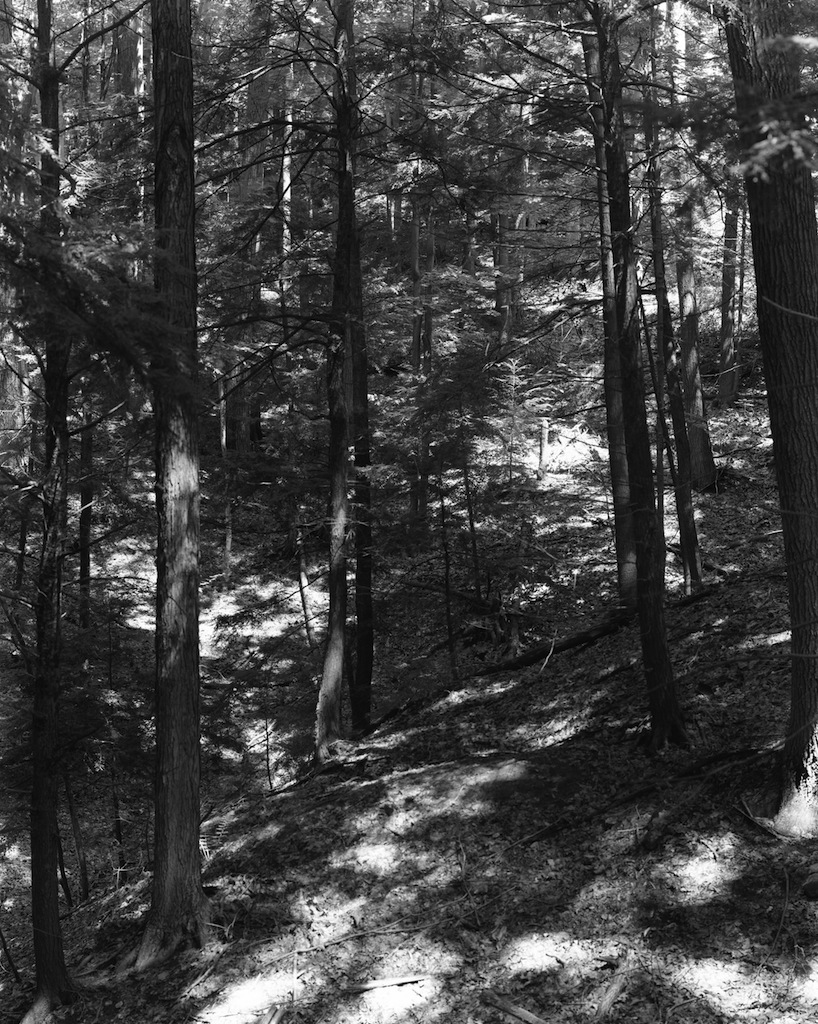
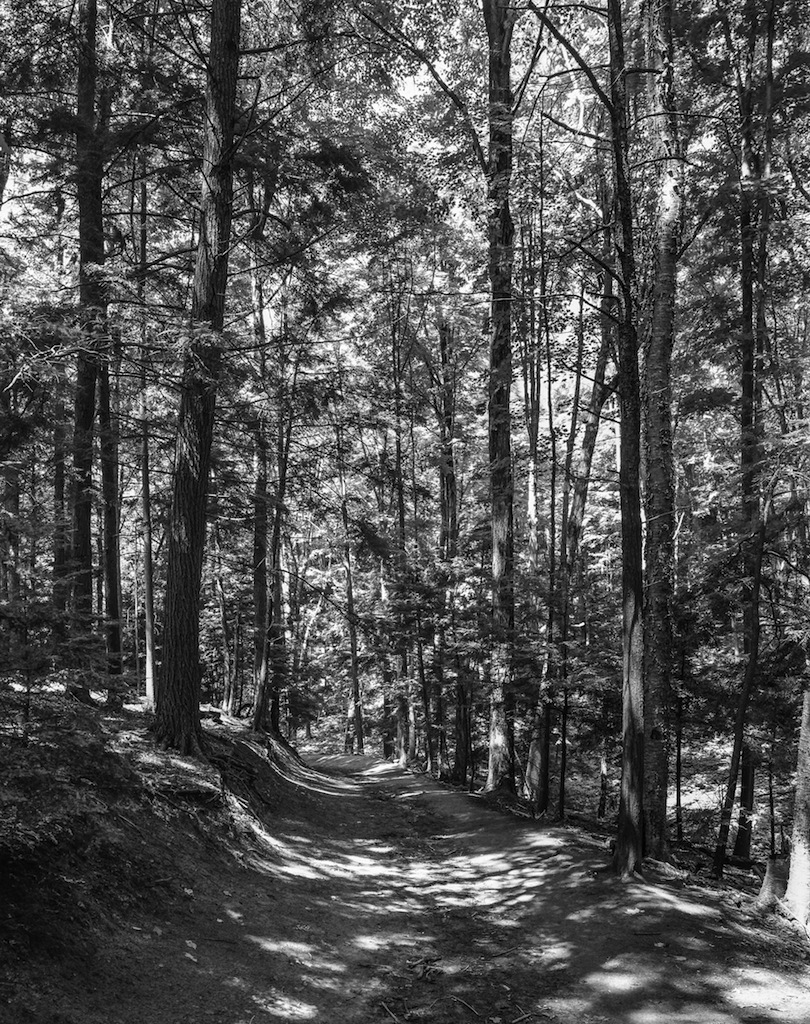
/Just after Christmas 2012 I bought a used Sinar P and lenses from a fine gentleman in Illinois. I loaded up five film holders and then proceeded to do pretty much nothing with the camera. This past weekend, I took the four unexposed holders into the woods with the camera and kit and made eight exposures. I processed the film myself. Fortunately, I did not screw up the negative developing step and while it's been nearly three decades since I last processed my own negs, it was really a blast.
So I ended up with eight sheets of 4x5 Kodak TMAX 100 hanging on a piece of string in the mud room to dry. Two out of the total ten that I shot, I screwed up the in camera part, forgetting to close the iris completely before pulling the dark slide on the film holder. The other eight came out ok, but I have made a note to carry a spot meter in addition to my incident meter when I next decide that humping the Sinar, lens, tripod and related kit into the woods is a good idea.
One of the challenges with the 4x5 is that while I have very good lenses for it, with reliable shutters, the image on the ground glass, even when under the dark cloth, is pretty dark. Using my old Nikon slide loupe for focus worked fine but I need a loupe with a bit more power, and I probably need to think about having more available light when I shoot as each exposure was 1 second with the aperture varying between f/13 and f/18. You focus with the lens wide open, but even then I had some trouble checking the edges and in one case, when I first put the 75mm Nikkor wide angle on, I neglected to remove the monorail extension that is needed when shooting the 210mm Nikkor, so the frame has this silver cannon poking in from the bottom. A real amateur mistake, but I caught it before the next exposure. I've also got a light streak on one sheet so either one of the film holders is wonky, or one of the sheets was touching something in the tank. It happens.
I am loving the 4x5 because there is absolutely no spray and pray, and while the images made this time are nothing that special, I was shooting for practice, not for art. Even then, by the time you check the meter half a dozen times, make myriad tiny adjustments, play with the shift, the tilt and maybe some swing, making a single exposure takes a while. After about two hours in the woods, I made eight exposures in total including the 1.5km hike in and out.
I processed the film in Ilfotec DDX because it was recommended on a forum for TMAX 100. I had bought Kodak TMAX developer because it was recommended, and then I discovered that Kodak says not to use it on sheet film. So I went all Ilford except for the Photo-Flo 200 wetting agent and everything worked out fine. I had intended to go with tray developing, but I was able to get a Yankee tank designed for sheet film so the only real darkroom work was loading the sheets from the film holders into the slots in the tank sheet rack. Once closed up, it was a room light experience. I was very glad to have found my ancient timer, and for the web on guidance on agitation and timing for the chemistry.
After letting the negs dry and then spending a day out shooting, I sat down today to learn how to get the negatives into the computer. I bought my Epson 4990 scanner several years ago, and I knew that it came with negative and slide holders. So I had to discover where they were after over five years. Fortunately, someone else in the house is organized and I found them quickly. I loaded the first two sheets of film into the film holder and did a preview. Then I played with the settings a bit and kept at it until the preview looked close to right. About the time I was trying to determine the correct resolution to scan at, I came upon a very useful web site produced by Konrad at www.howtoscan.ca The information there was well laid out and very helpful. Konrad suggests that 900dpi resolution on a 4x5 negative is suitable for a 24x30 print. So I decided to scan at 1200 dpi understanding that I would end up with larger files and a longer scanning step.
At first I scanned using the Epson Scan software that came with the scanner. It seemed to work fine. Then I read that post OS X 10.6 scanning should be invoked from the operating system, so I tried scanning from Photoshop CC. The scanning part worked ok but the exposures were all very dark. I remembered that the Epson Scan software had done a nice job so I gave up on scanning from Photoshop CC and went back to the Epson software. Each image at 1200dpi scans to 49.3 megabyte files.
Then I opened the first image in Photoshop. I'm not a Photoshop guru, but I did read a tip for people who are Lightroom / ACR types so I converted the image to a Smart Object and then used the Filter | Camera Raw Filter tool to make my very subtle adjustments. There is so much tonal range in this film it is absolutely awesome. When I saved the TIFF after the adjustments, the file size had loomed to about 230mb average. So 8 shots consume about 2GB. I have a lot to learn about working with scanned negatives in Photoshop but for a start, I'm pretty happy. I'm sure I will look at these in a year and ask myself what I was thinking.